Write the first specification for a feature, then embed a live model artifact so it stays linked to the architecture.
A specification is a focused page that captures one decision or feature. A good first spec is short, decision‑focused, and connected to the model. In this step you create the page, write the content, and embed a model artifact.
1. Open the Specs view
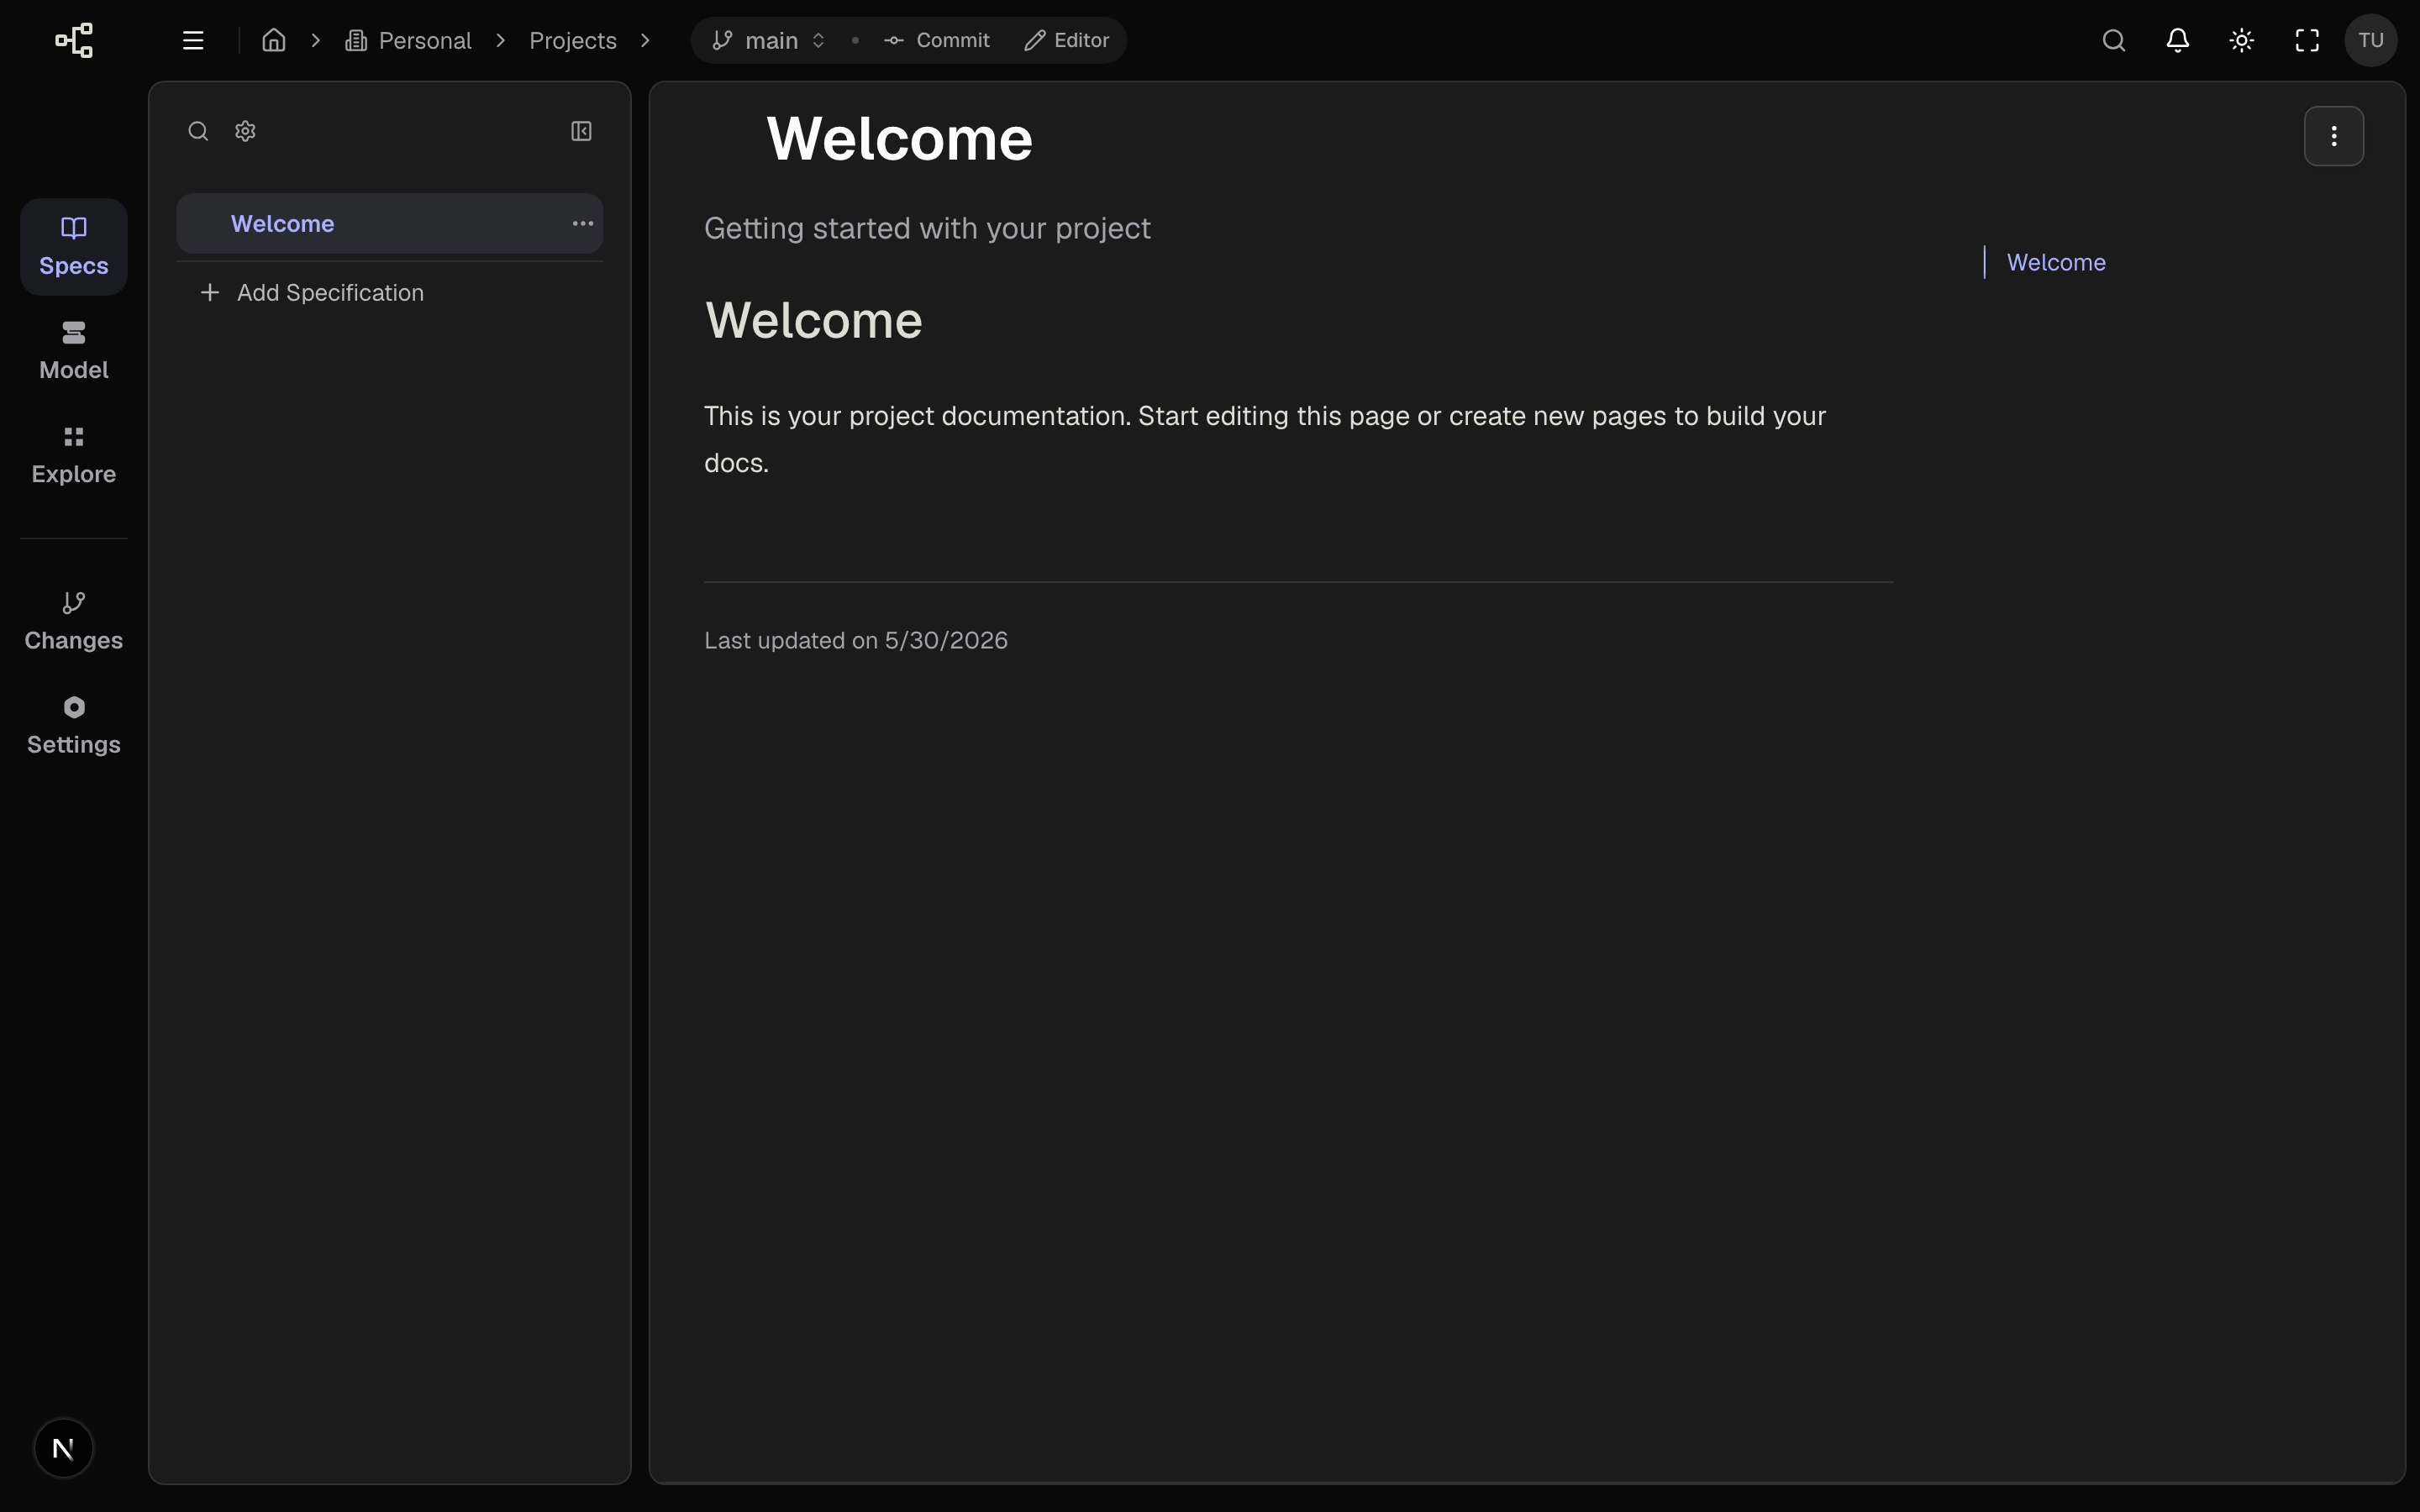
From your project, open Specs in the left navigation. You land on the seeded Welcome page.
2. Create the specification page
- In the specs sidebar, scroll to the bottom and click Add Specification.
- In the Create Specification dialog, fill in:
| Field | What to enter | Rules |
|---|---|---|
| Title | The feature or decision name, e.g. Guest Checkout | 1–200 characters |
| Key | The folder/file name, e.g. guest-checkout | Lowercase Latin letters, digits, and hyphens only |
The Key is generated automatically from the title. Leave it as suggested unless you need a different slug.
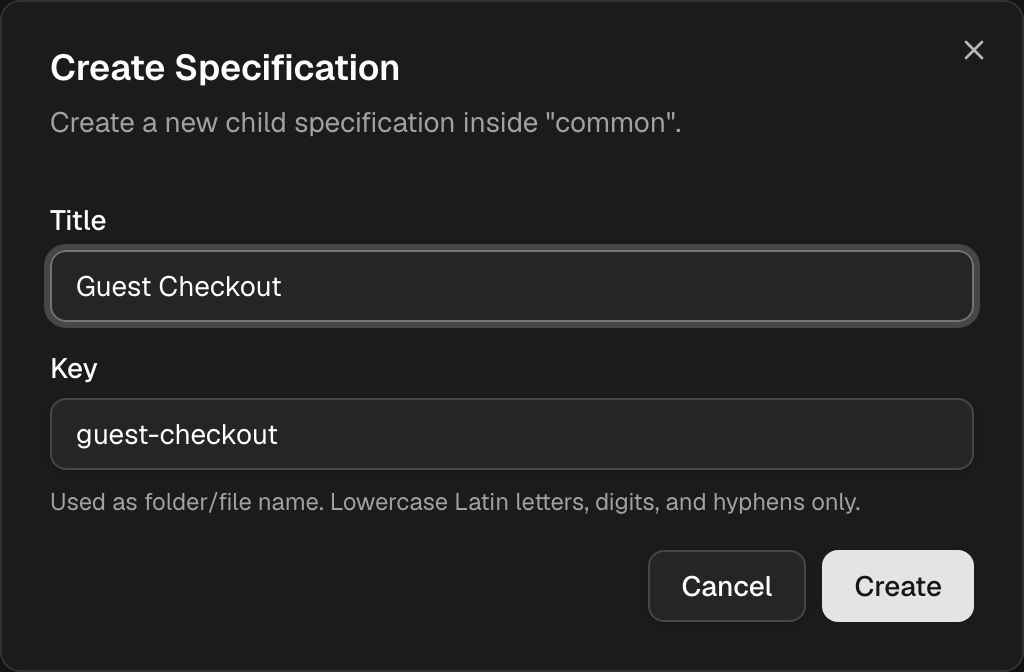
- Click Create.
The page is created inside the current group (by default common) and opens immediately in edit mode.
To create a spec under an existing page instead of at the top level, hover
that page in the sidebar, open its actions menu (the ⋮ icon), and choose
Insert Child Specification.
3. Write the decision
In the editor, write the spec for your feature. Keep it concrete:
- Context — what problem or feature this is about, in one or two sentences.
- Decision — what you decided to do, stated clearly.
- Consequences (optional) — trade‑offs or follow‑ups worth noting.
Example body:
## Context

Customers abandon the cart when forced to register before paying.

## Decision

Support guest checkout. Account creation becomes optional and is offered
after a successful order.

## Consequences

Order records must support a "guest" customer with no account id.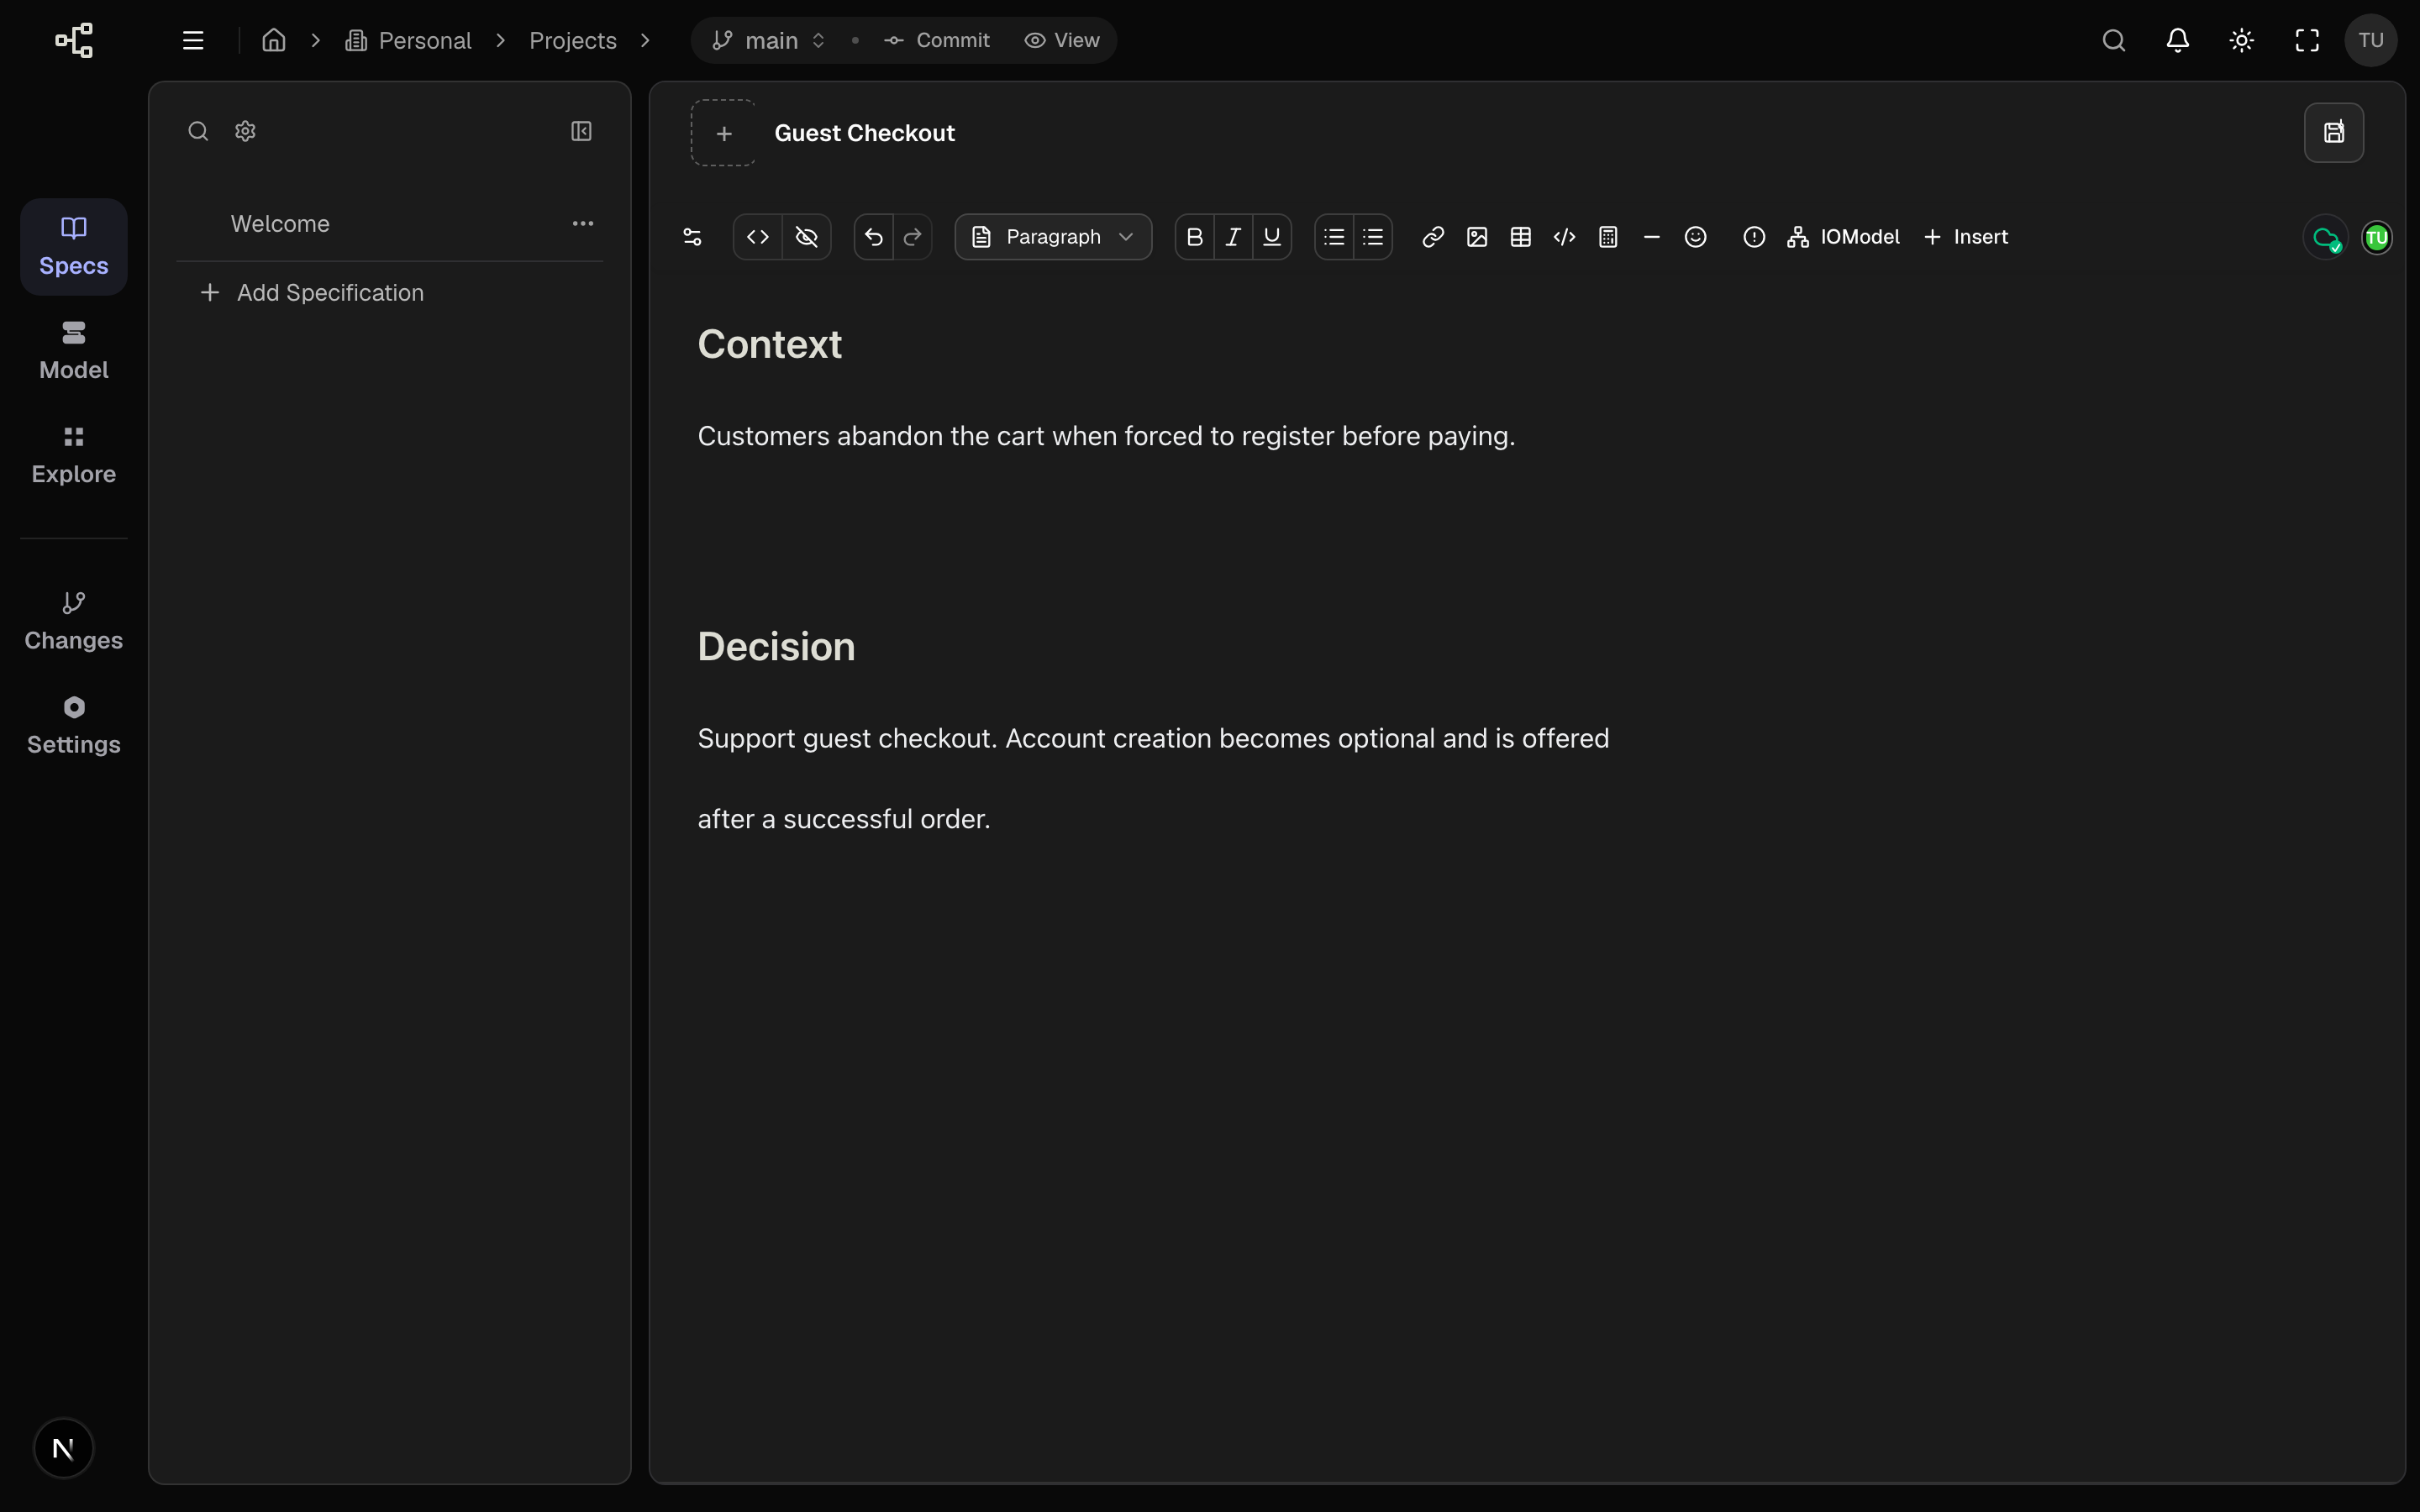
Resist the urge to document everything. One clear decision per page is easier to review and easier to keep accurate over time.
4. Embed a live model artifact
This is what makes the spec part of the architecture rather than a static note.
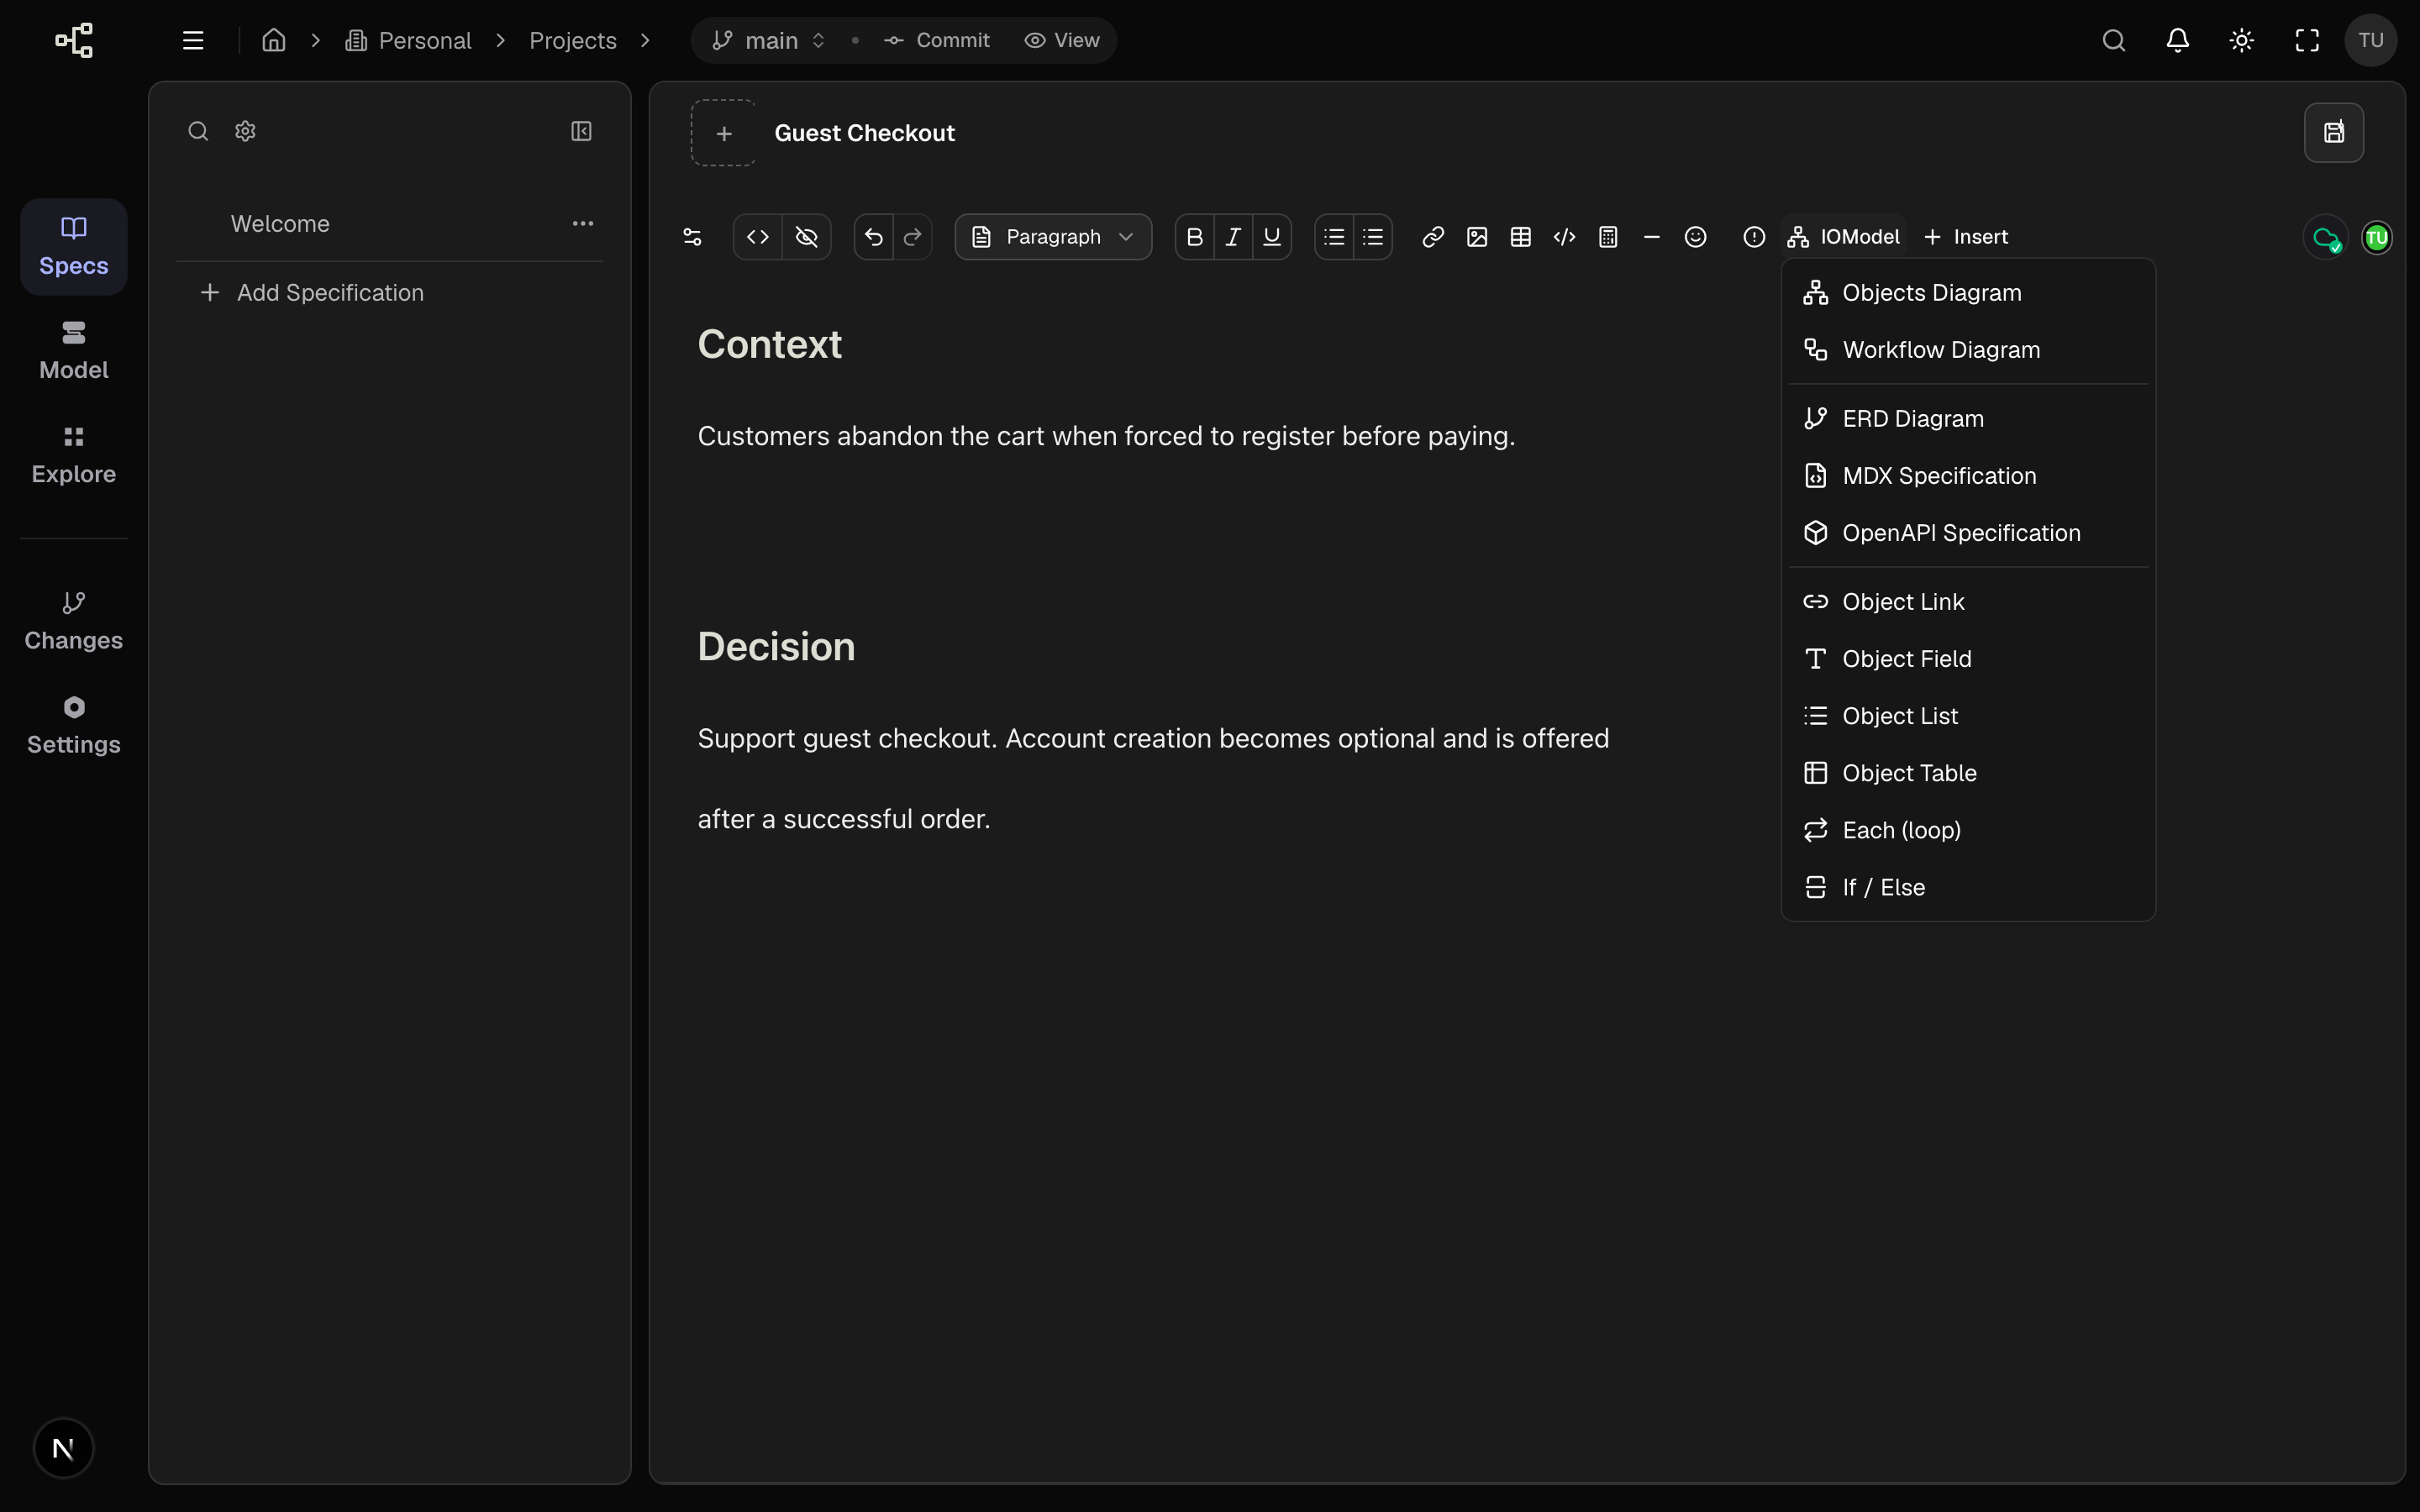
- In the editor toolbar, click IOModel.
- Choose an artifact to insert:
| Insert | Embeds | Use it for |
|---|---|---|
| Objects Diagram | <Objects model_key="…"> | Showing the objects this feature touches |
| Workflow Diagram | <Workflow model_key="…" workflow_id="…" /> | Showing a step‑by‑step flow |
The model_key is filled in from your project’s model automatically. For an Objects embed you can edit the inline filters (YAML) to scope the diagram to relevant objects; for a Workflow embed set the Workflow id.
The embedded artifact renders live from the model, so it stays correct as the model changes — no stale screenshots.
5. Save and confirm
- Use the title‑bar Editor / View toggle to preview the rendered page.
- Click Save and commit in the header to write your changes to the
mainbranch. - Confirm the new page is visible in the specs sidebar and can be shared by URL.
What you should have now
A feature spec
A short, decision‑focused page under the common group.
A live model embed
An Objects or Workflow artifact that renders from the model.
A committed change
Saved to main and discoverable in the sidebar.
Next: First Model Change — open Explore and make your first edit to the architecture model.
Last updated on