Create your first project: where to click, which fields to fill in, and what to expect after.
A project is the workspace that holds one architecture model and its specifications. Everything else in this Quickstart lives inside the project you create here.
The whole flow takes a few clicks — open the dialog, enter a name, and create:
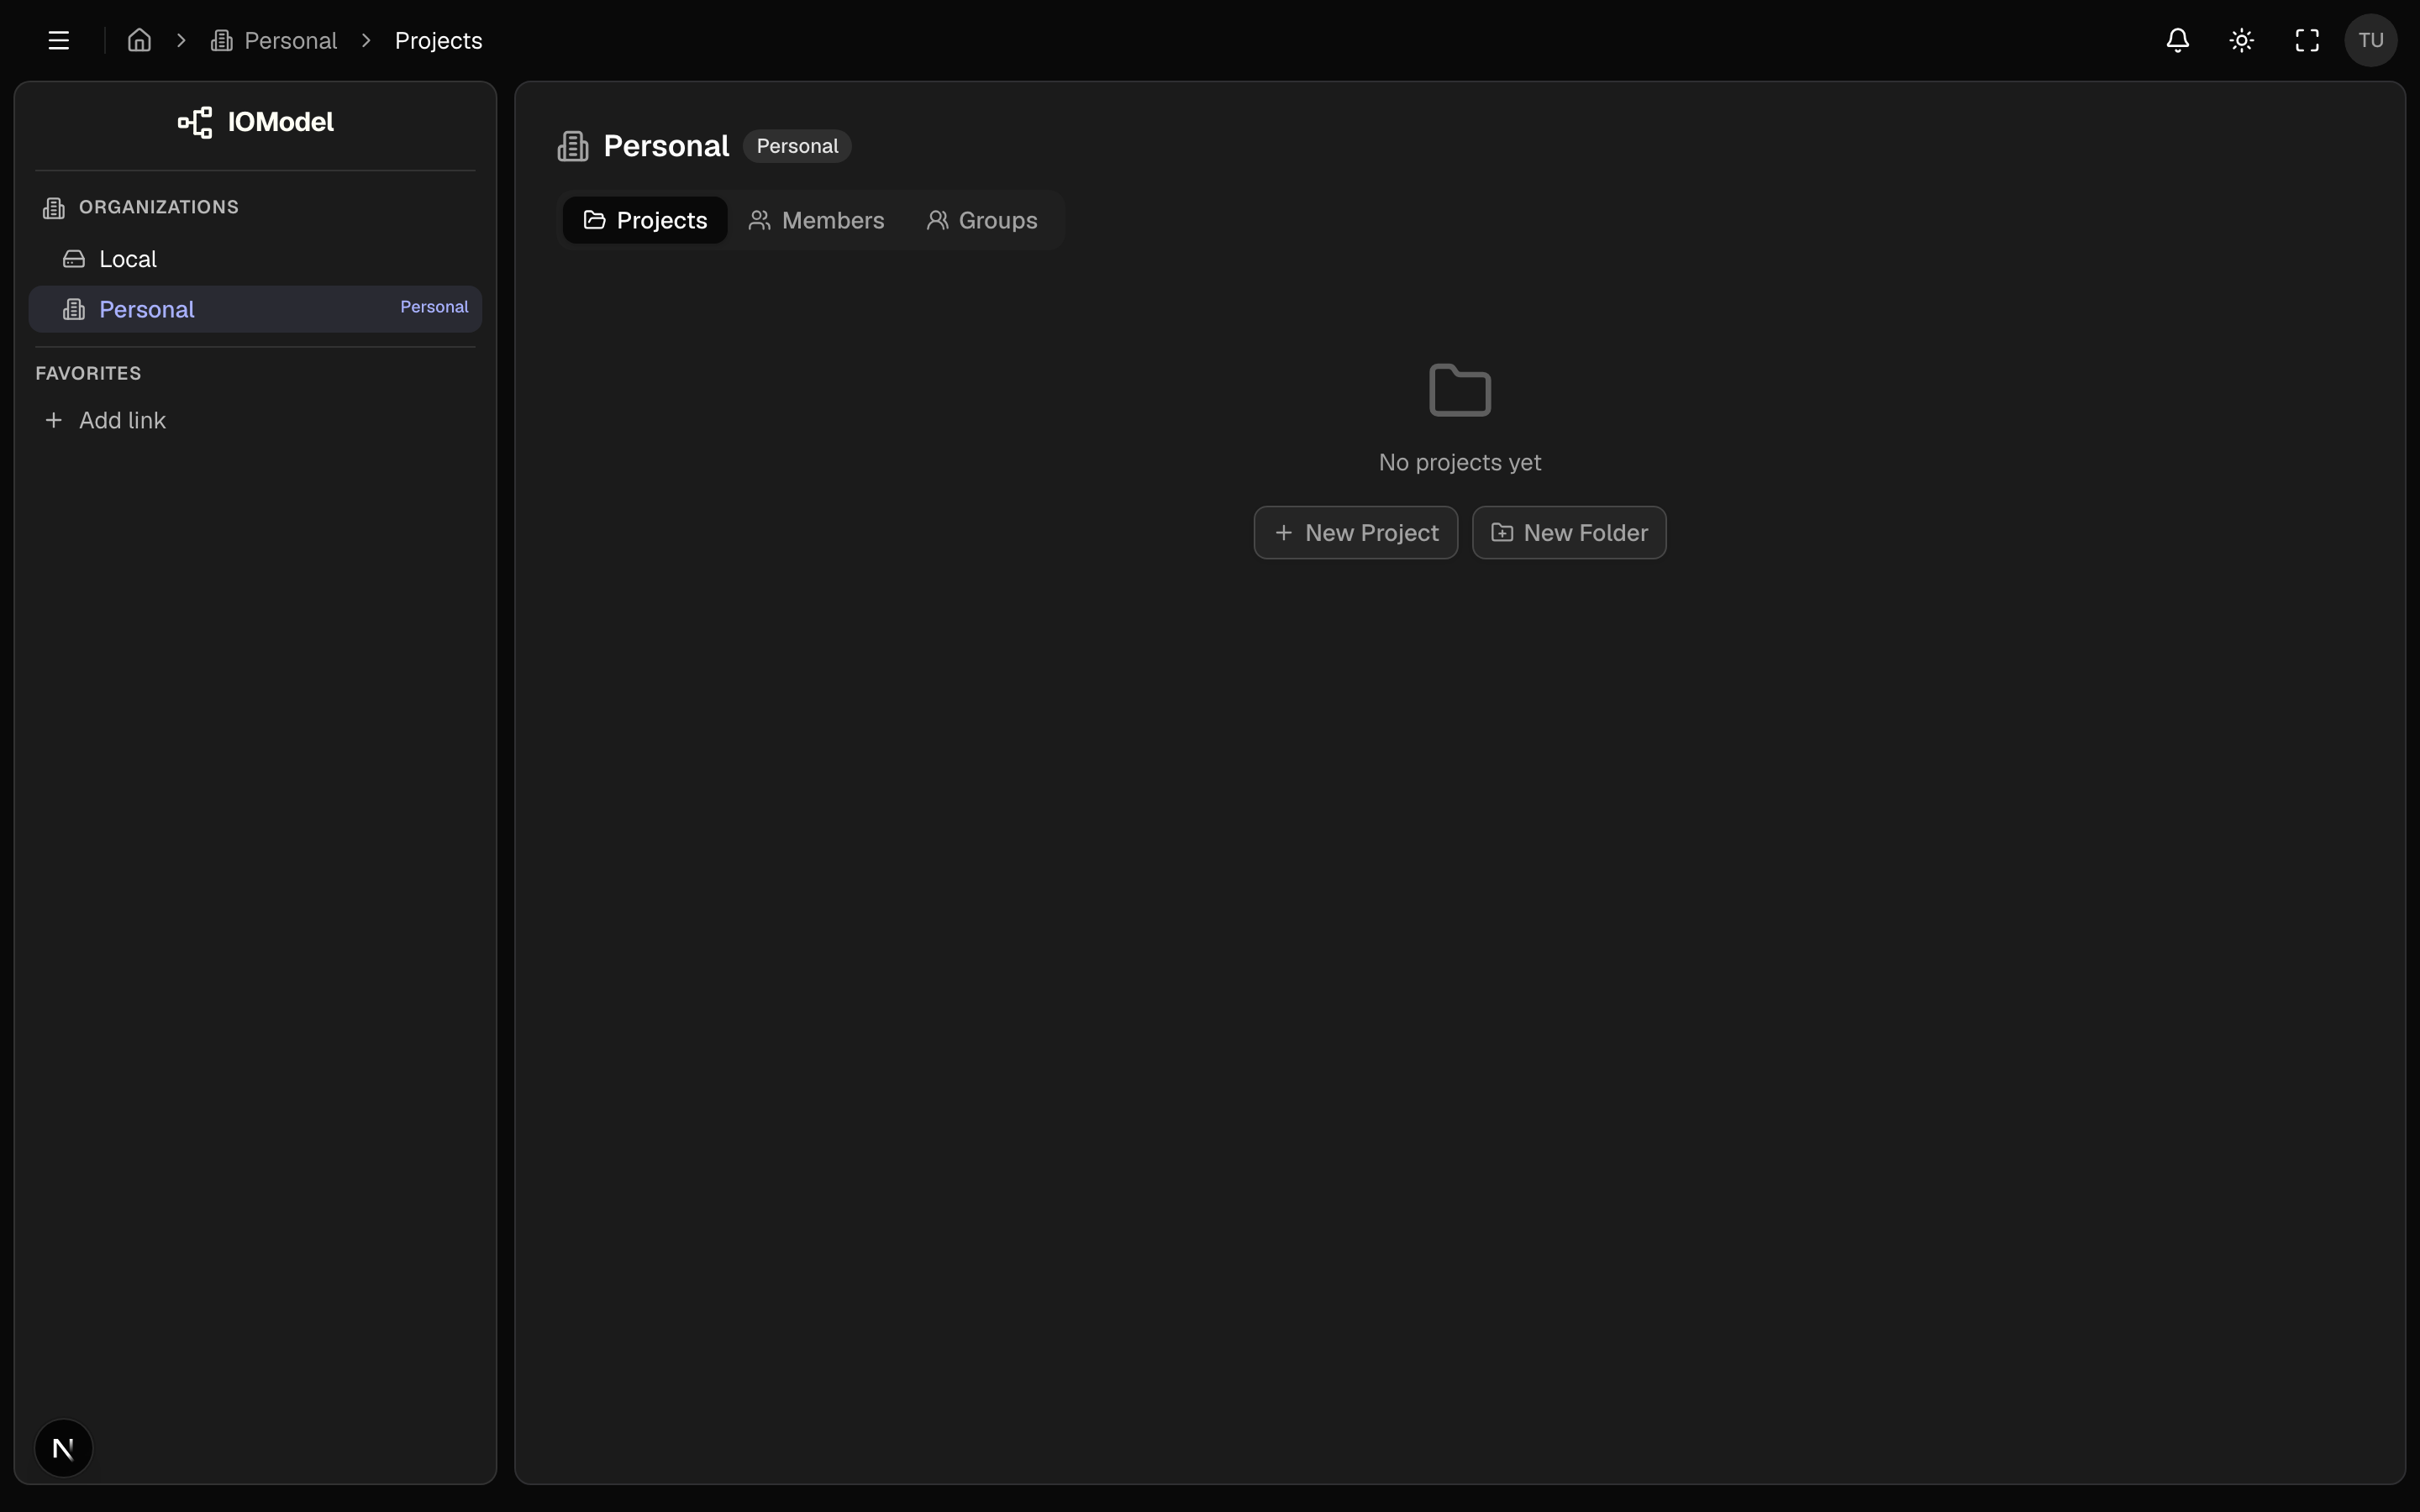
1. Open the projects view
- Sign in and open your organization from the workspace menu.
- Make sure the Projects tab is selected.
You will see a tree of existing projects and folders, or an empty state if this is a fresh organization.
2. Open the “New Project” dialog
Depending on what you see:
- Empty organization — click the centered New Project button.
- You already have projects — click New in the top‑right, then New Project.
- Inside a folder — the same New dropdown applies; the project is created in that folder.
The New Project button only appears if you can create projects here. At the organization root that requires org admin; inside a folder it requires folder admin or higher. On a local workspace it is always available.
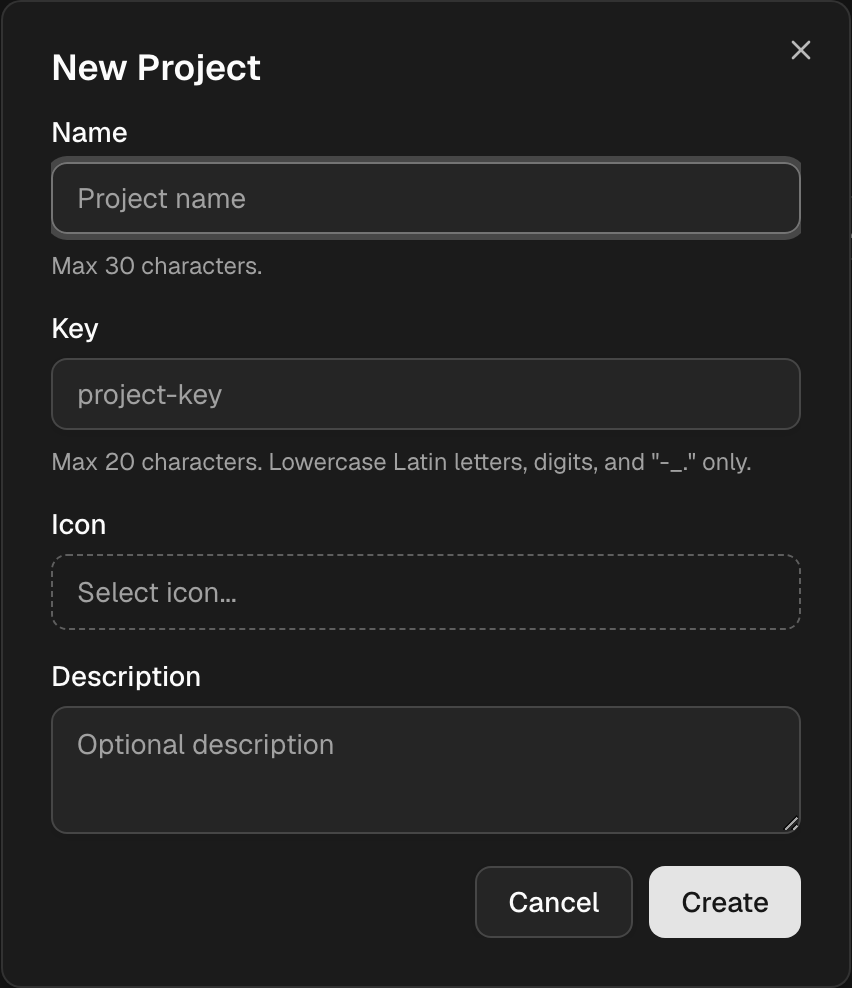
The dialog opens with empty fields:
3. Fill in the form
The New Project dialog has the following fields:
| Field | Required | What to enter | Rules |
|---|---|---|---|
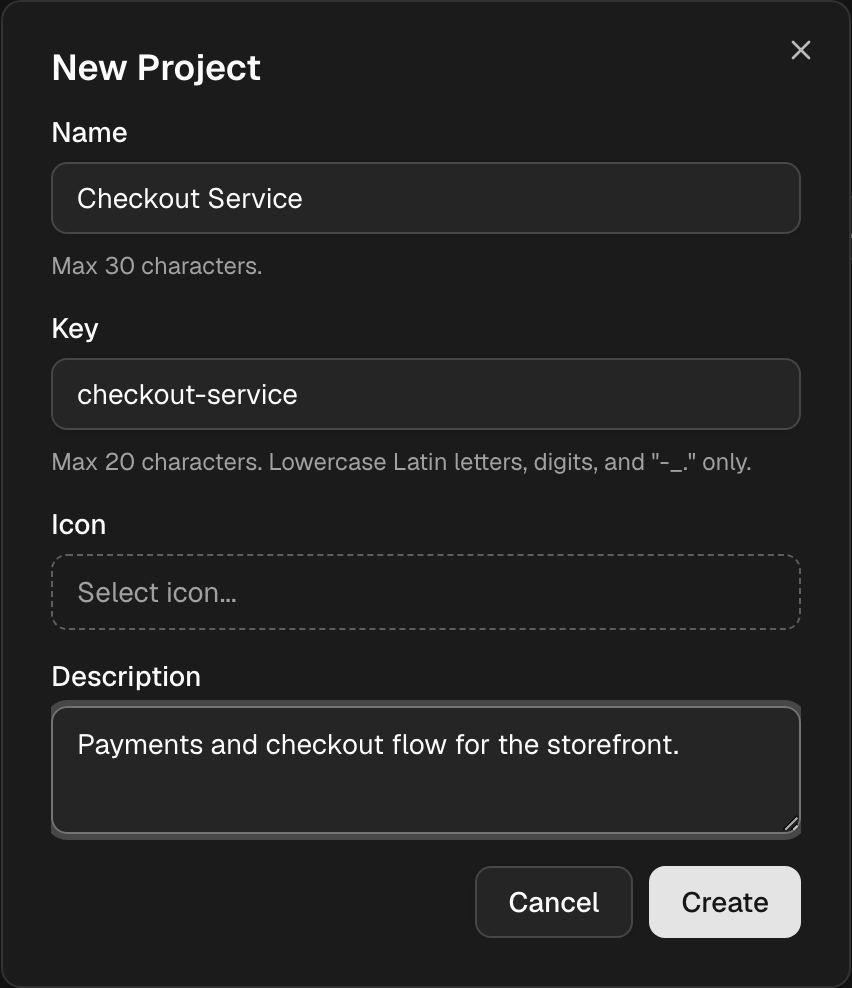
| Name | Yes | A readable title, e.g. Checkout Service | 1–30 characters |
| Key | Yes | A short, stable slug, e.g. checkout-service | 1–20 characters, lowercase Latin letters, digits, and -_. only |
| Icon | No | Pick an icon to recognize the project faster | — |
| Description | No | One sentence on what the project covers | Up to 500 characters |
The Key is generated automatically from the Name (lowercased, spaces replaced with -). You can edit it, but choose carefully: it becomes part of every URL and is hard to change later.
Prefer short keys like checkout or billing-api. They keep URLs and
automation scripts clean and readable.
4. Create
Click Create. If the key or name already exists in the same folder, you will see a conflict message — adjust and try again.
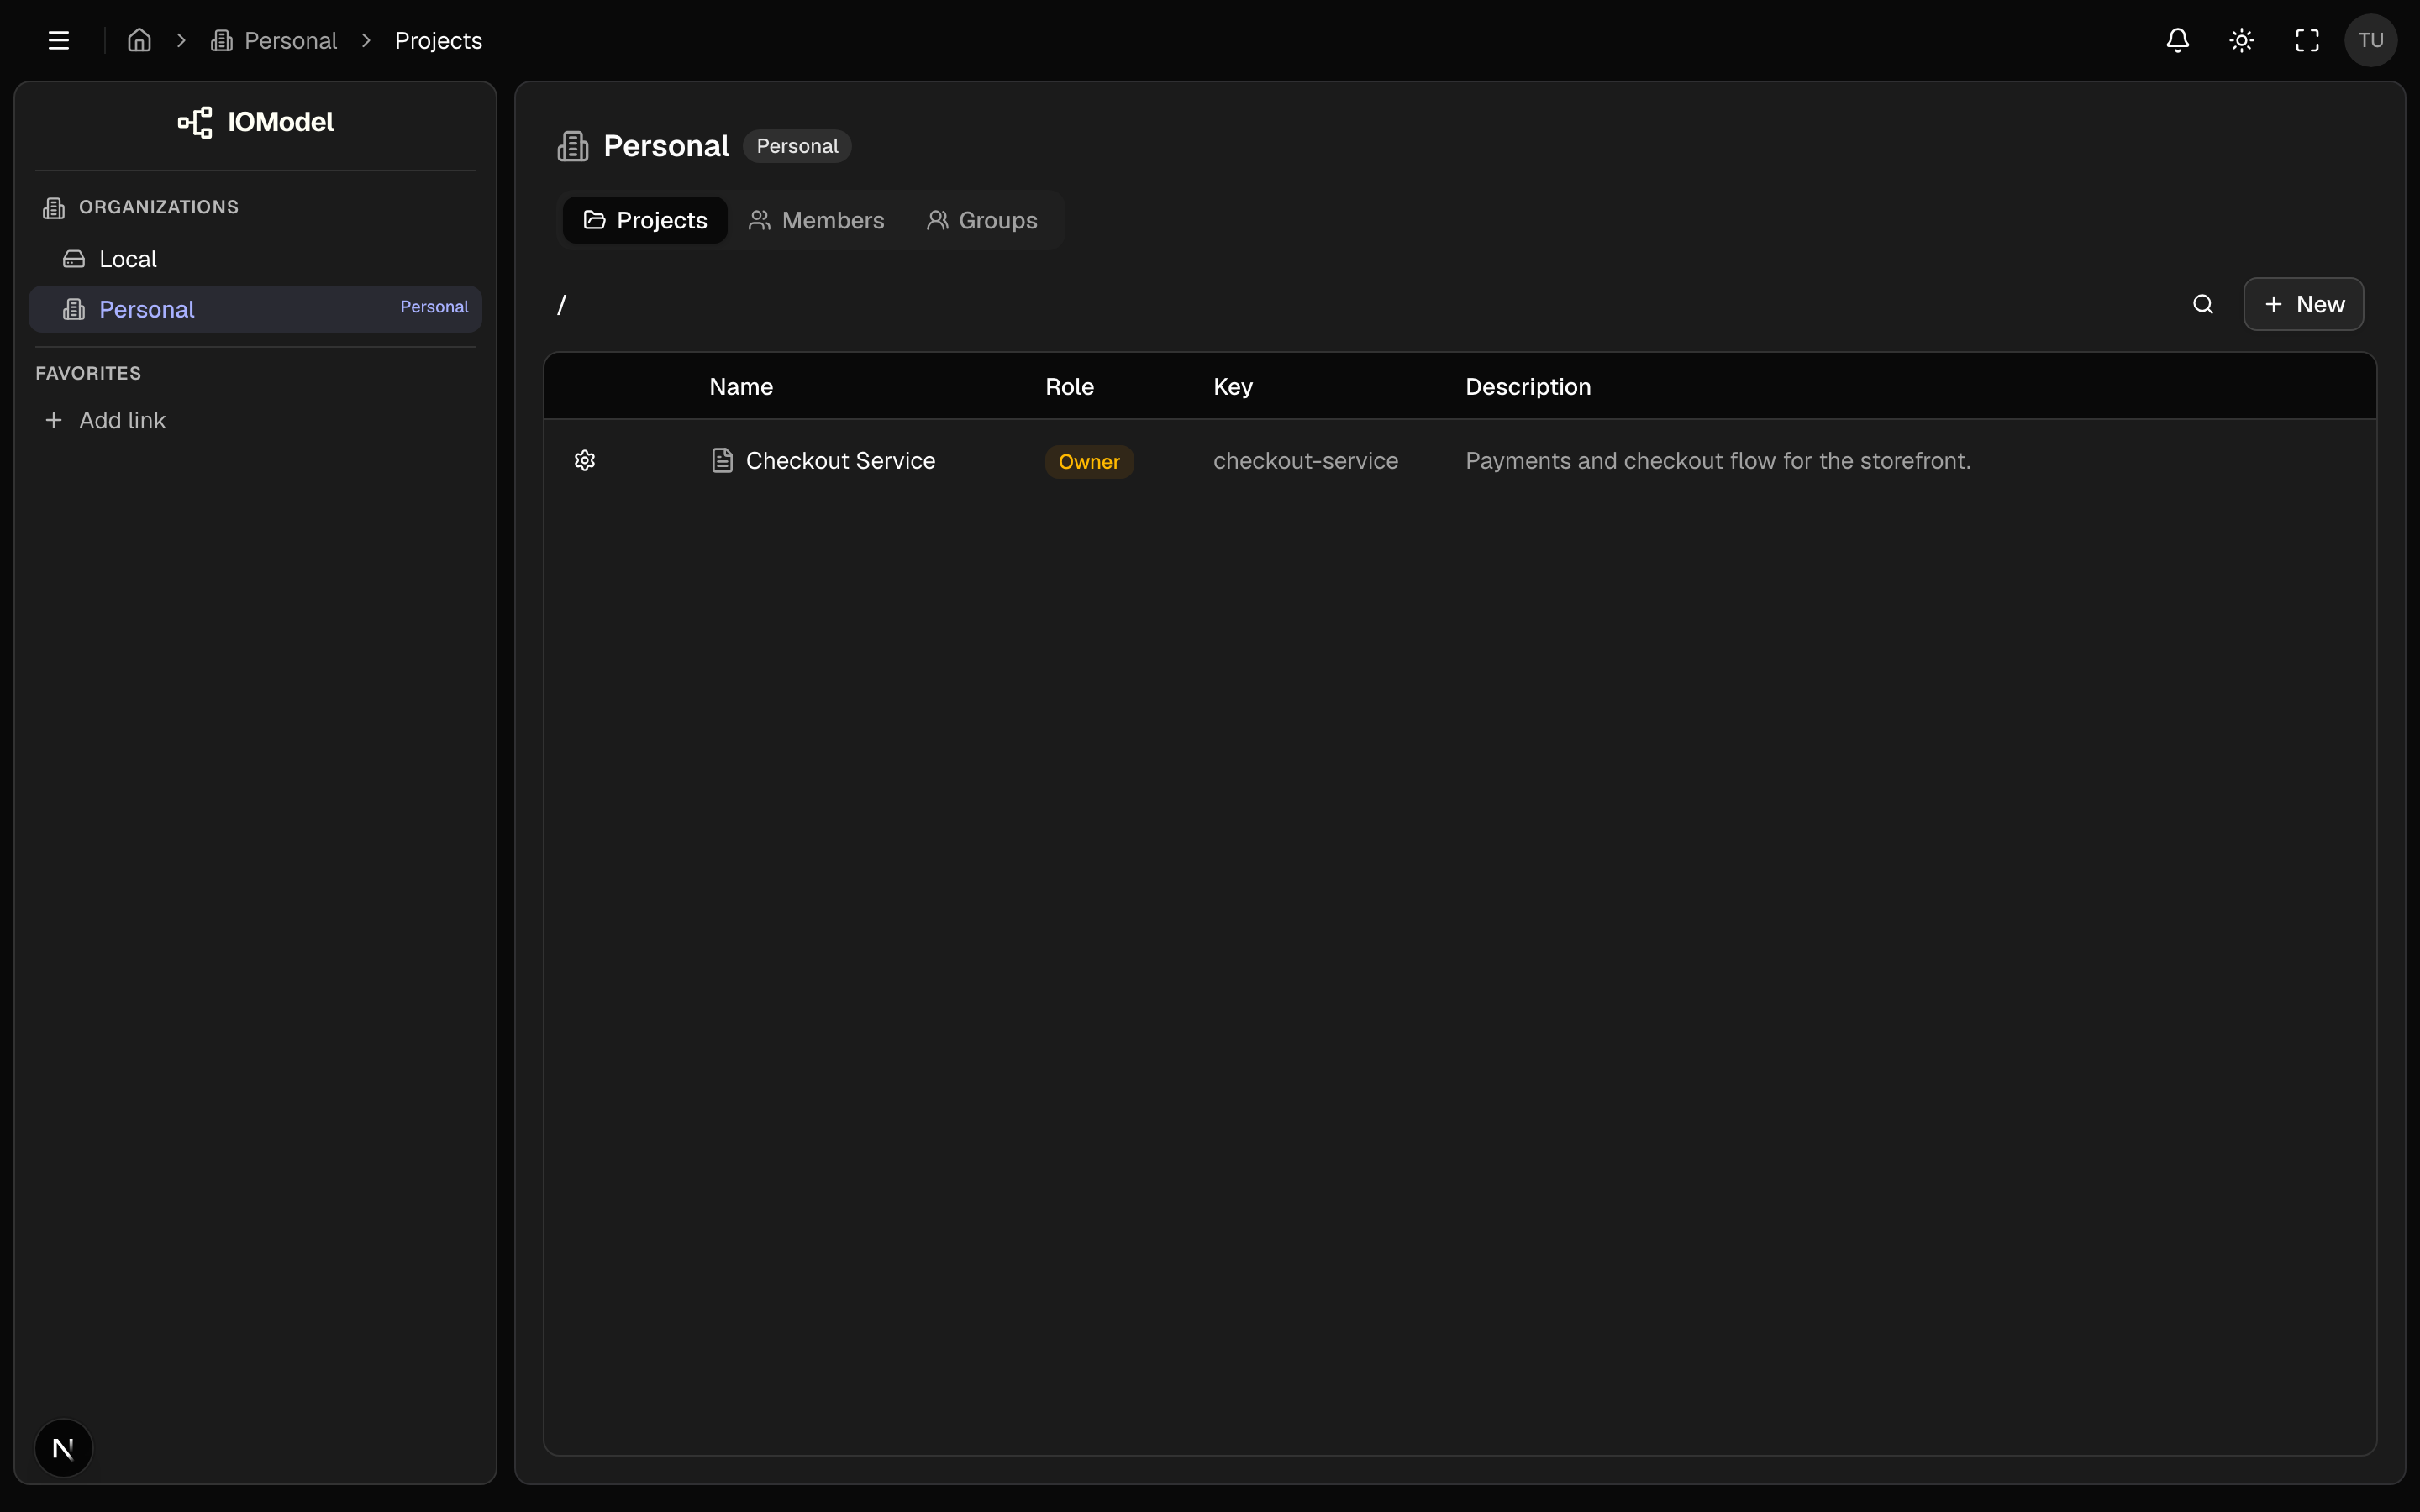
The new project appears immediately in the projects list, with you assigned as Owner:
5. Open the project
The new project appears in the tree but does not open automatically. Click its row to open it. You land on the project’s Specs view.
A new project is seeded for you with:
- A default branch named
main. - An initial model and spec tree.
- A starter spec group
commoncontaining a Welcome page.
What you should have now
A project
Visible in the organization tree with your chosen name and key.
A default branch
main, ready for your first edits.A starting point
The seeded common/welcome spec, open in the Specs view.
Next: First Spec — write the first specification for a feature and link it to the model.
Last updated on