Open Explore, switch to edit mode, and make your first change to the architecture model.
The architecture model is the structured source of truth your specs link to. Explore is the fastest way to see the whole model and change its structure, because it shows objects and links as a single interactive diagram. In this step you add one object and connect it.
1. Open Explore
From your project, open Explore in the left navigation.
The model is drawn automatically: objects are nodes, relationships are links (edges), and the layout is computed for you. Before editing, get oriented:
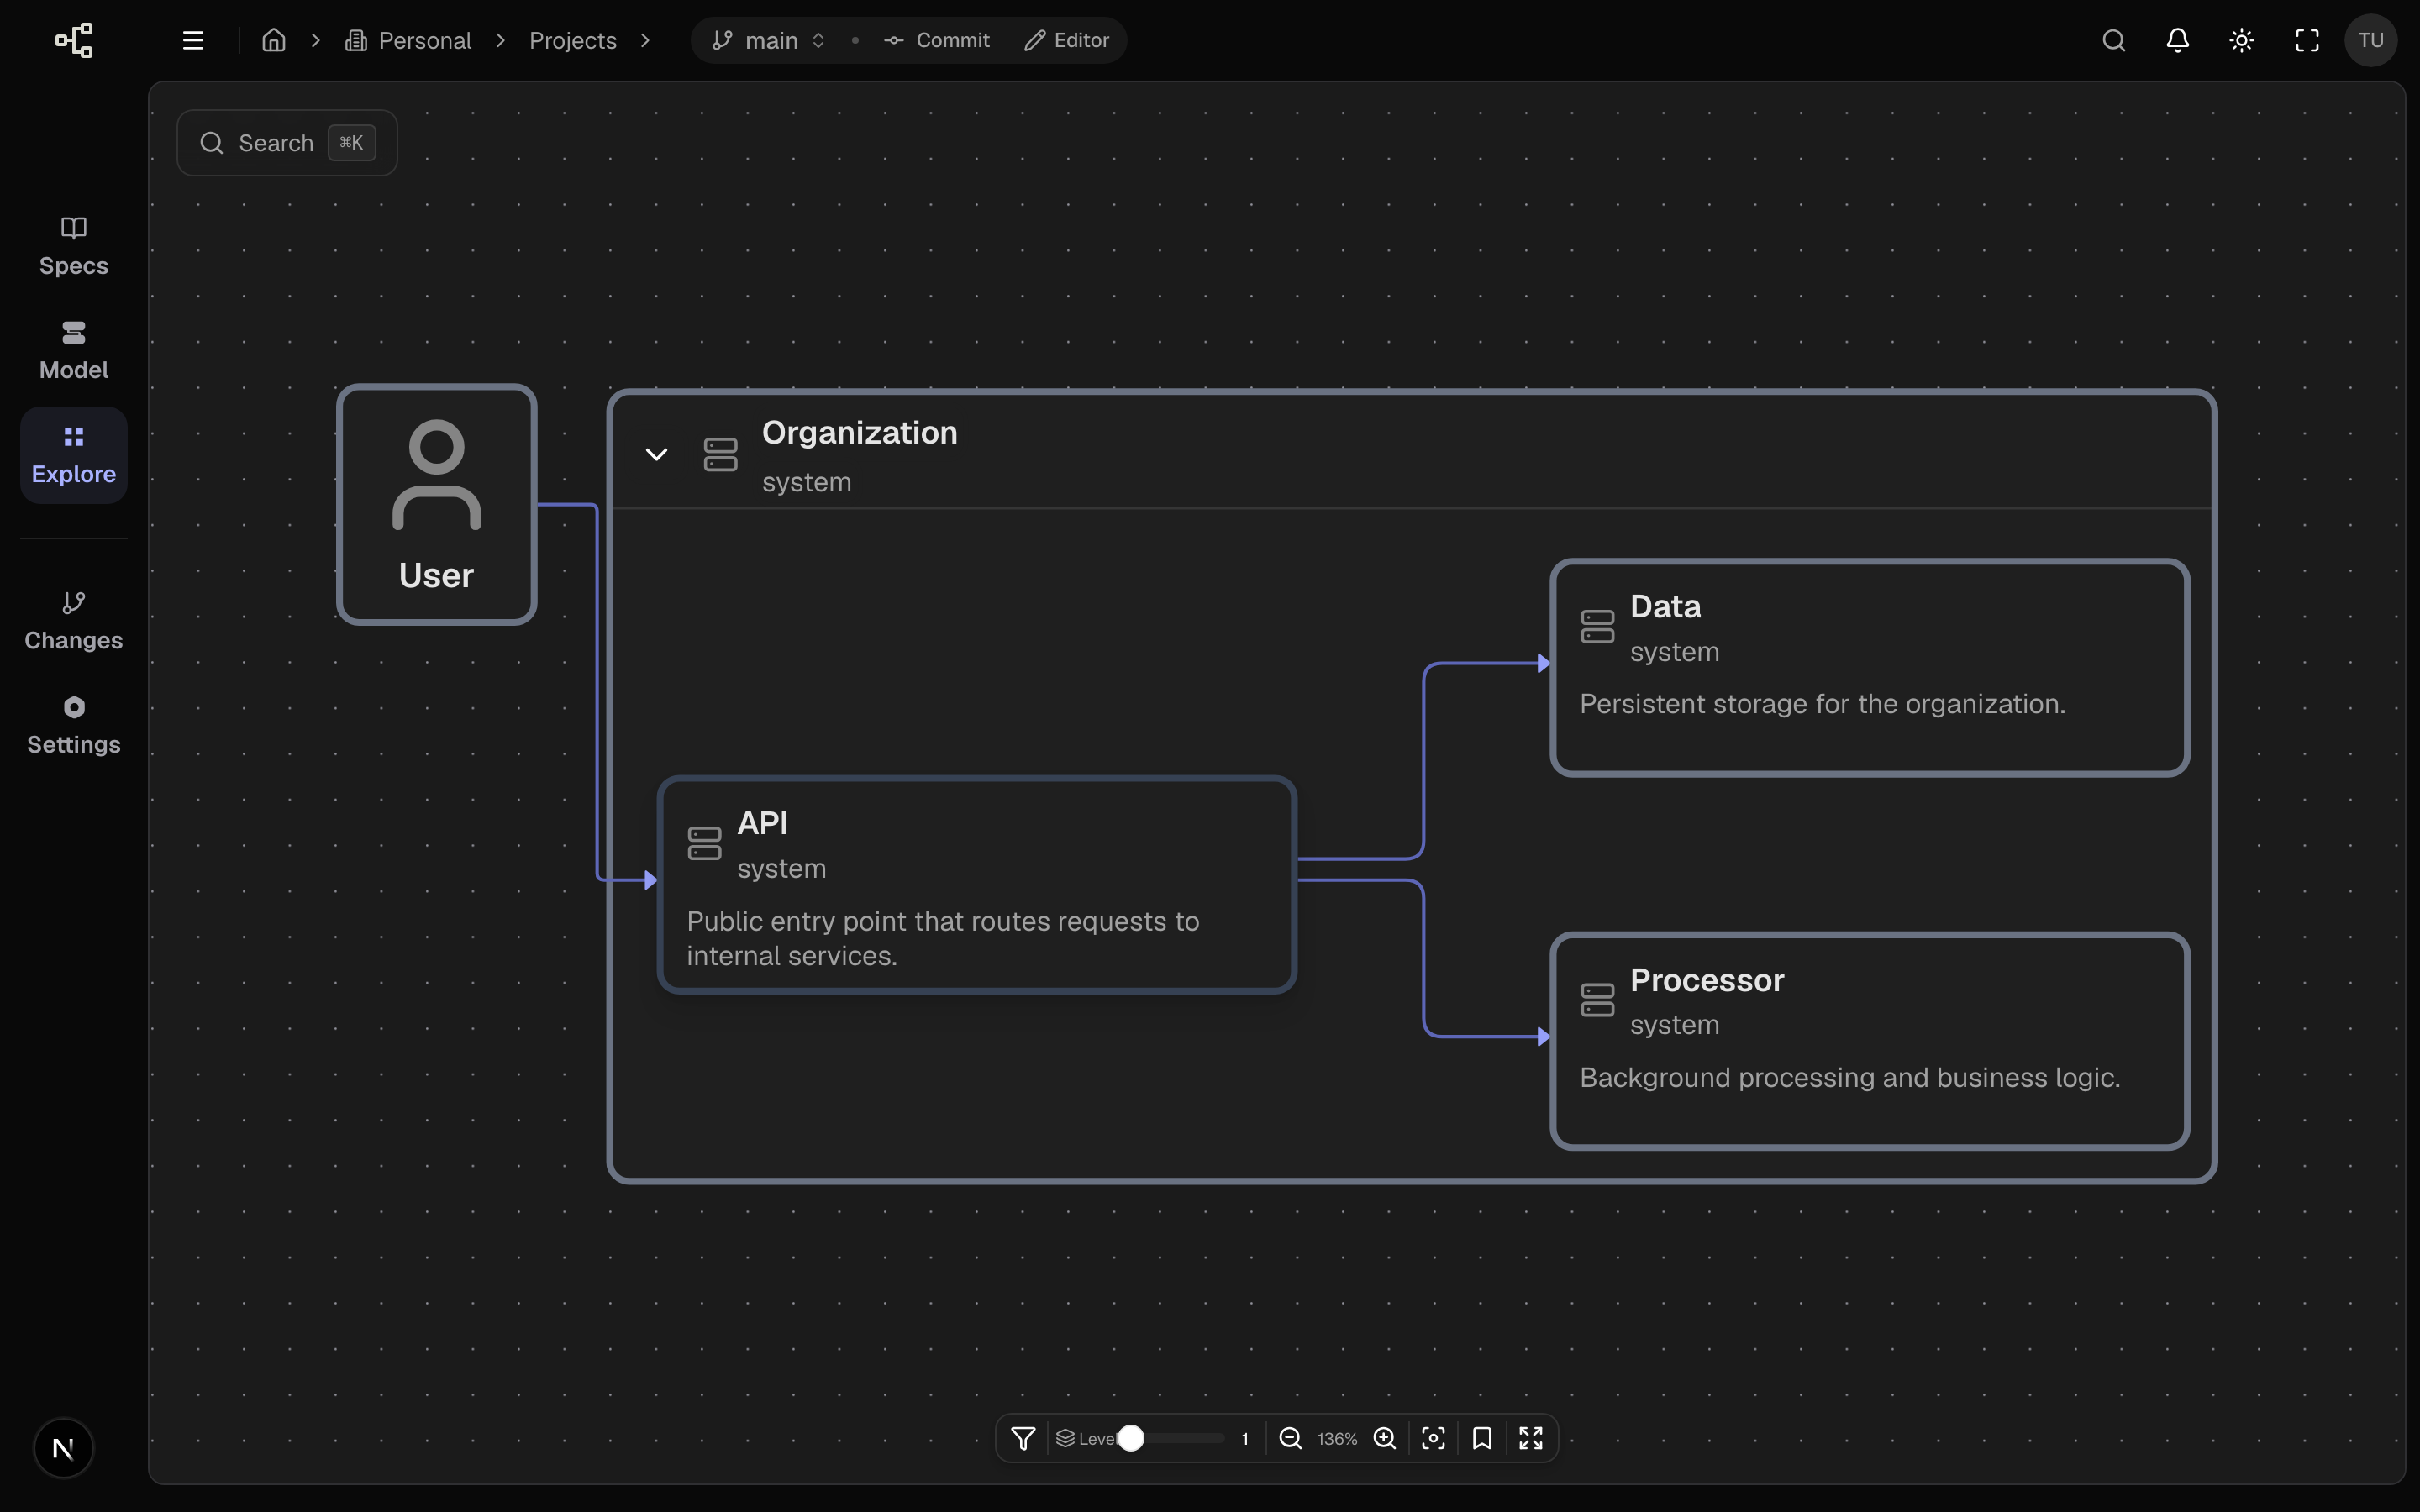
- Pan and zoom to move around.
- Click a node to open its details in the right‑hand panel.
- Use the Level slider in the bottom toolbar to reveal more nesting depth.
Start zoomed out to read the overall shape, then drill into the one area you want to change. Reading every node at once hides the structure.
2. Switch to edit mode
Click Editor in the title bar (it toggles between View and Editor).
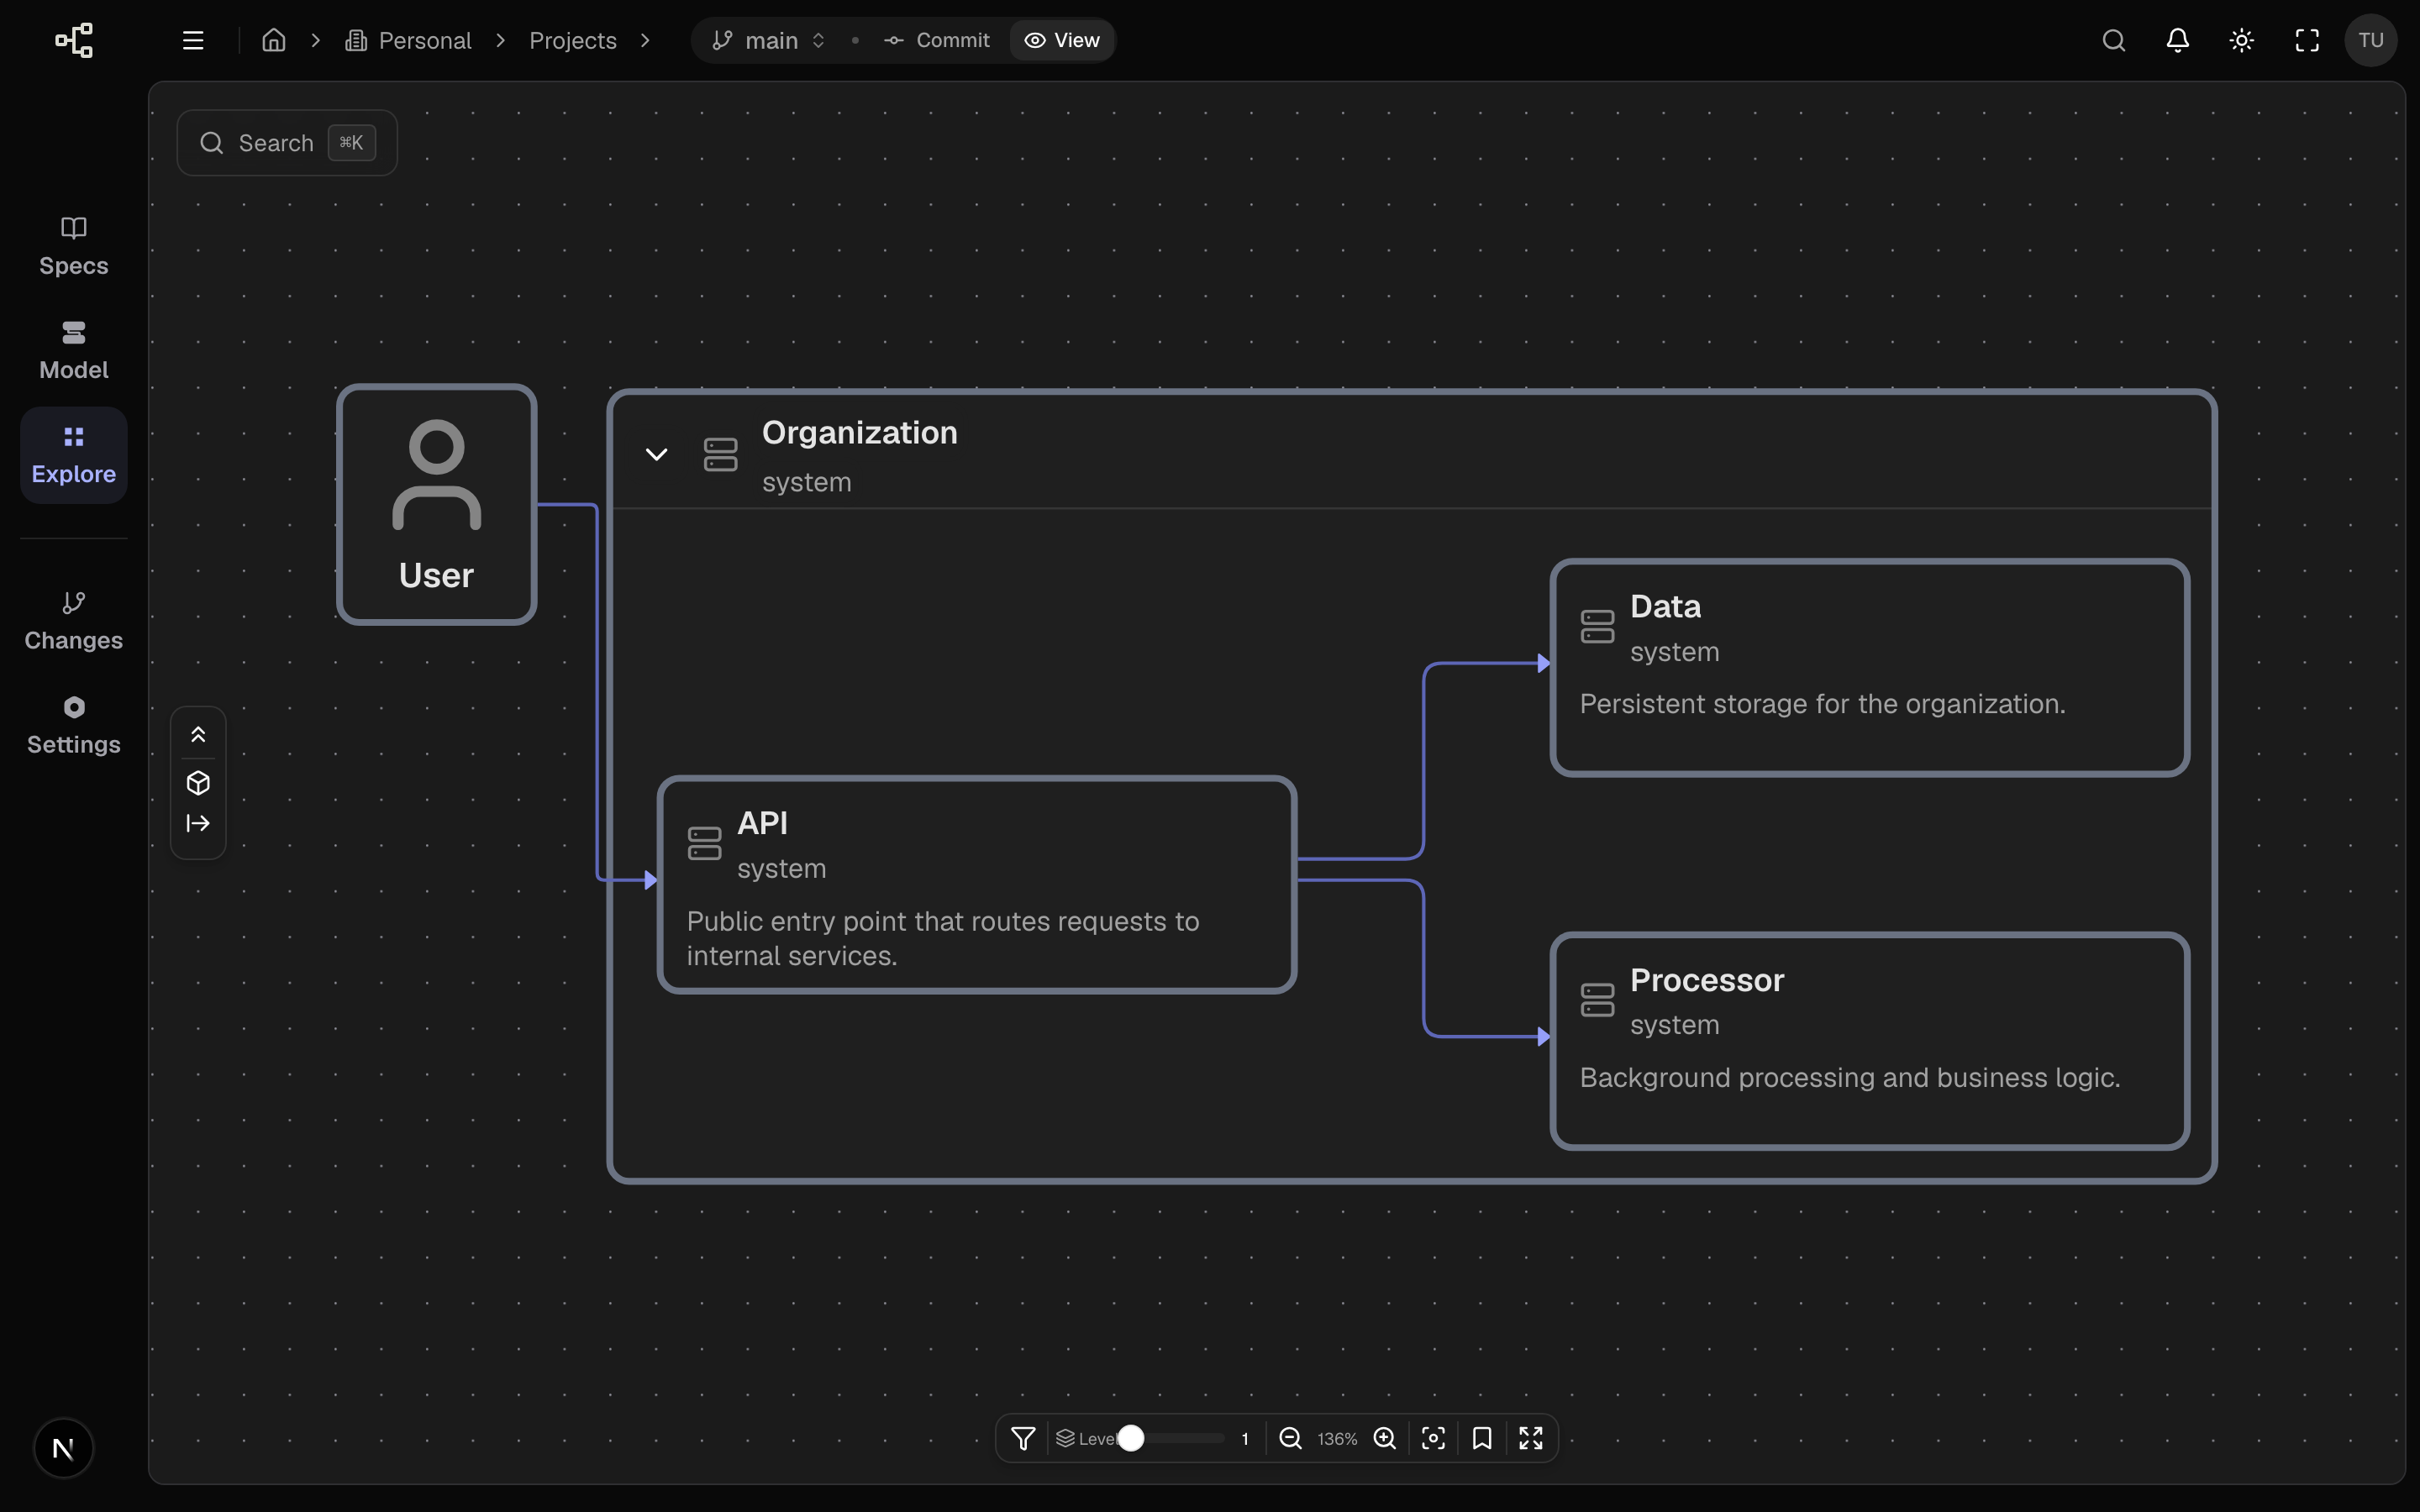
Editing requires the editor role or higher, and a live collaboration connection. If the toggle does nothing, check your permissions and that the page has finished connecting.
If the project has more than one model, pick the one you want from the Model selector in the bottom toolbar first.
3. Add an object
- Click an empty area of the canvas to deselect everything.
- Click the + (Add object) control, or right‑click the canvas and choose Add object.
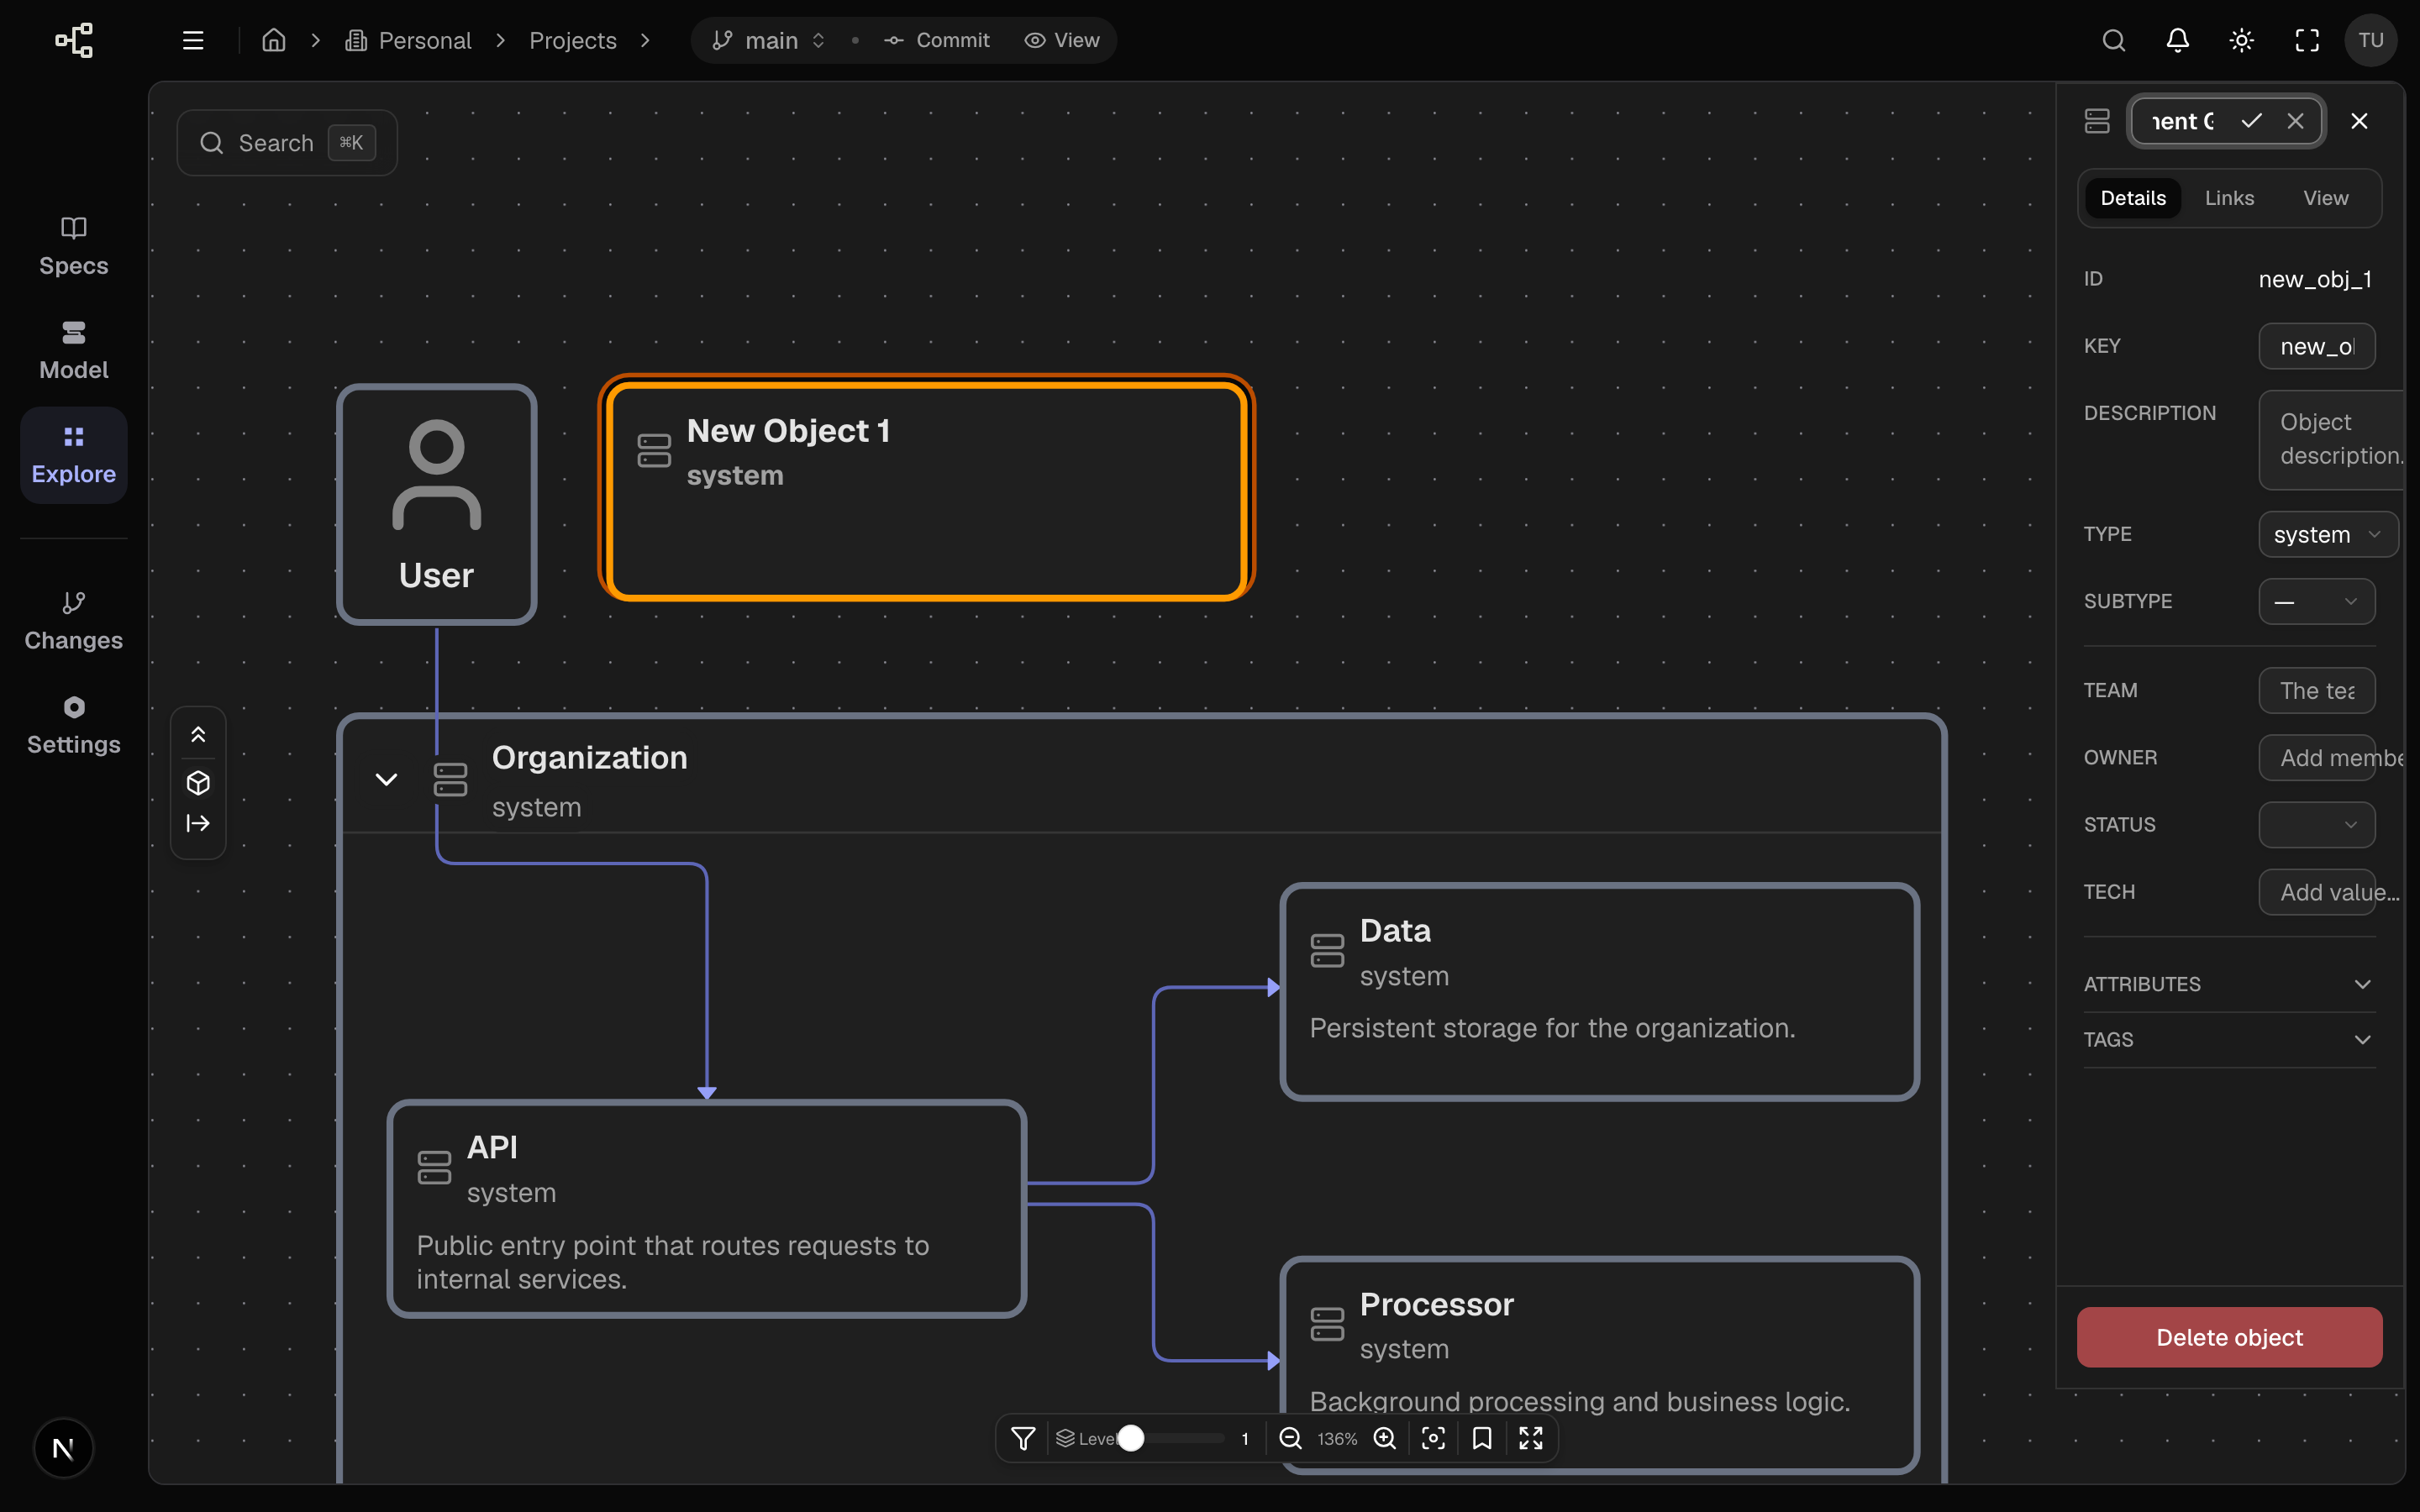
A new object appears with a placeholder key (new_obj_1) and title (New Object 1).
To add a child object instead, select a parent node first, then click + (now labelled Add child object) or right‑click the node and choose Add child object.
4. Edit its properties
- Click the new node to open the object panel on the right.
- Set the Title (e.g.
Payment Gateway) and a clear Key. - Choose a type (container, system, actor, and so on) and optionally a description, icon, or tags.
- Press Enter or click Save on each field to apply it.
5. Connect it with a link
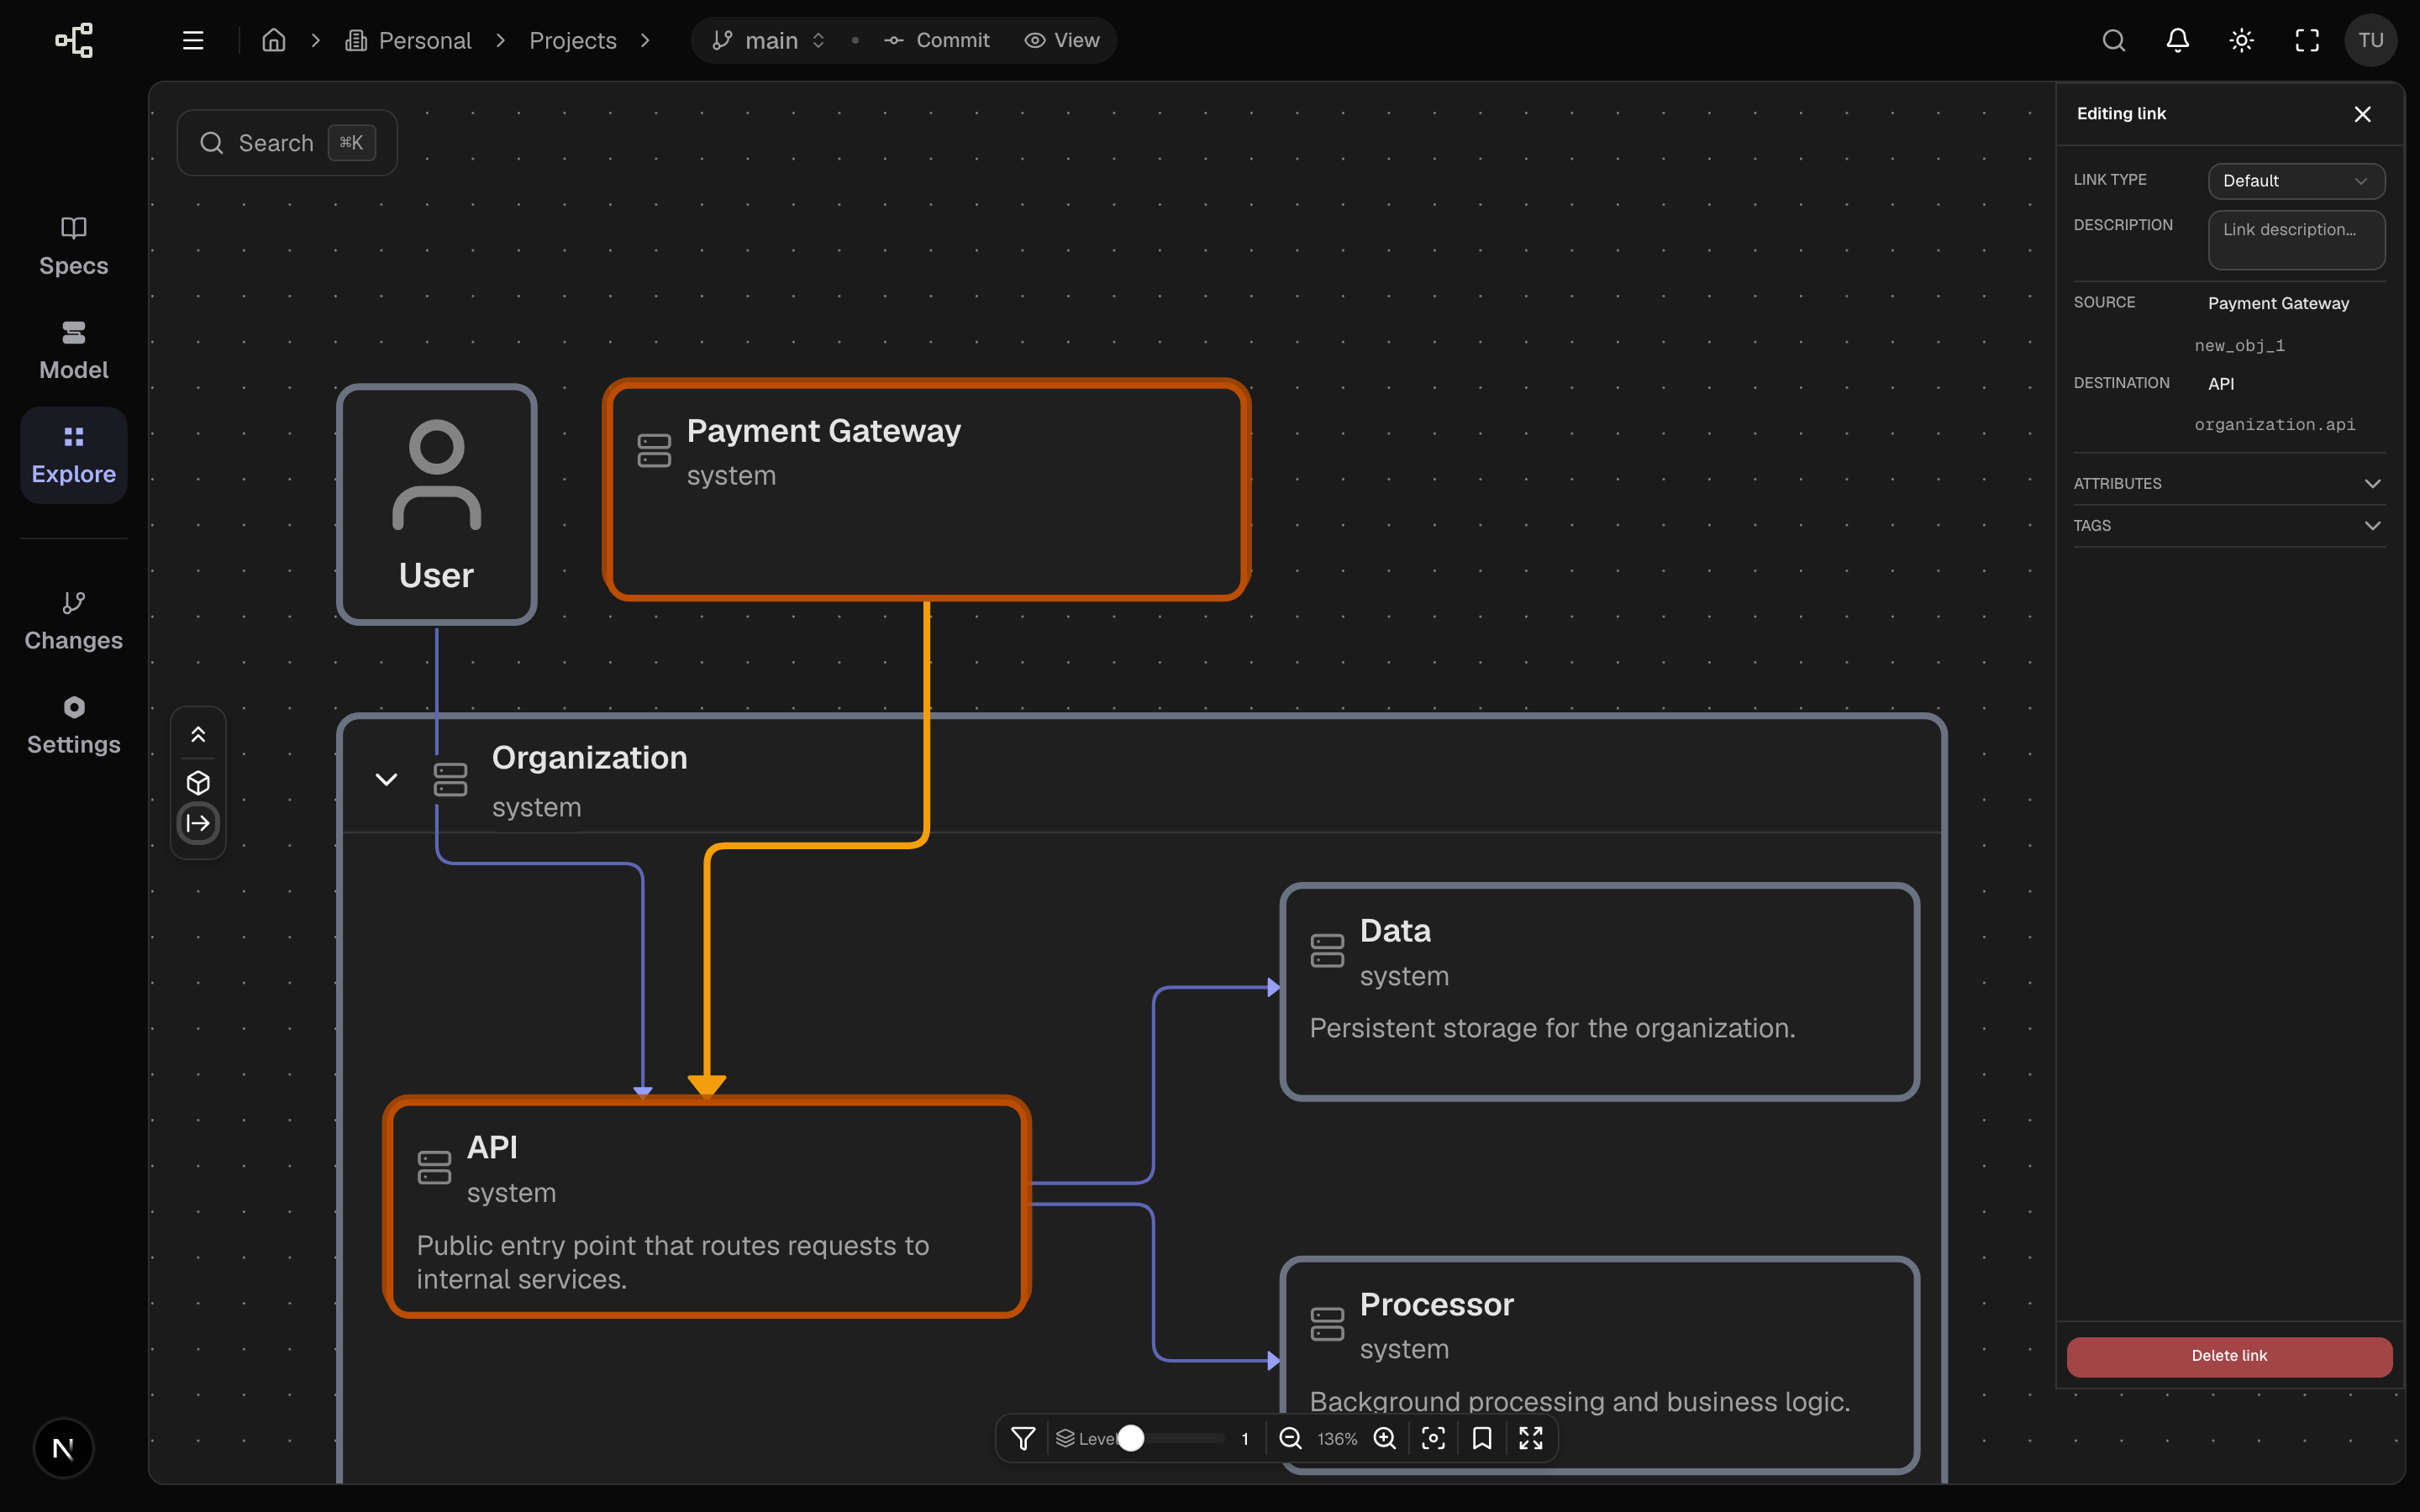
You can create a link two ways:
- Drag: hover the source node until its connection handles appear, then drag from a handle to the target node.
- Add link button: click Add link in the toolbar, click the source node, then click the target node.
Either way, click the new link to open its panel and set its type or description.
6. Finish
- Click View in the title bar when you are done. Changes are saved live through collaboration.
- If you work with branches, review and commit your changes from the Changes view.
- Open the spec you wrote in the previous step — any embedded Objects or Workflow diagram now reflects your new object automatically.
What you should have now
A new object
Added to the model with a real title, key, and type.
A link
A linked spec
Your feature spec’s embed updates to include the change.
Explore vs the Model section
Explore is best for structure and links at a glance. The Model section
gives you a tree plus per‑object YAML/MDX editors (handbook, ERD, OpenAPI,
workflows) when you need deeper, field‑level editing. Both use the same
Editor toggle and save to the same model.
You have now completed the full loop: a project, a feature spec, and a model change that flows back into that spec. Repeat it for your next feature.
Last updated on